
I was reminded the other day of a colouring technique I used for a card ages ago. It’s no-line colouring with a mix of copics and colouring pencils.
I was inspired to try the technique again, this time with the Pretty Pink Posh Hummingbird Thanks and Pretty Petunias stamp sets.
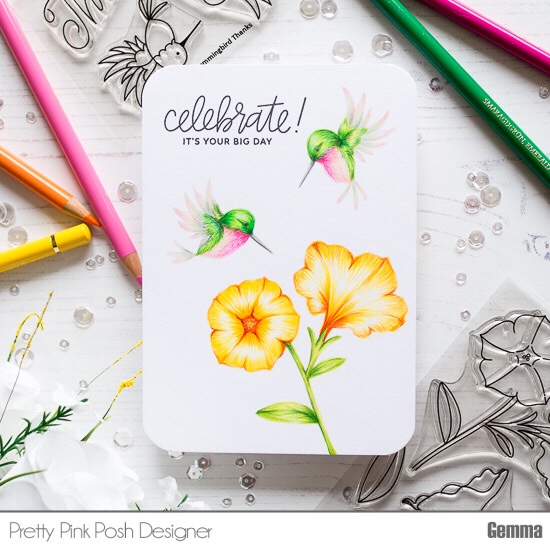
I stamped the images on to a piece of white card with a very pale pink ink. I then chose some copic markers in pale colours, adding a layer of colour to the images. So, light green and pinks for the hummingbirds, and light yellow and green for the flowers. I’ll list all the colours at the end of the post.
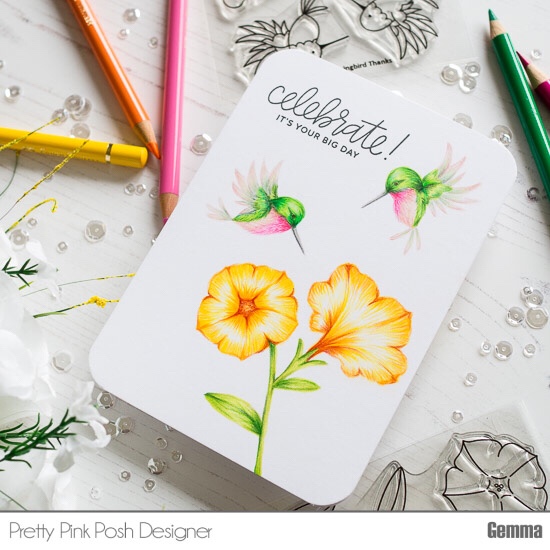
By adding this layer of copic colour first, it covers a lot of the white card and adds a nice base layer on which to add the finer pencil details on top.
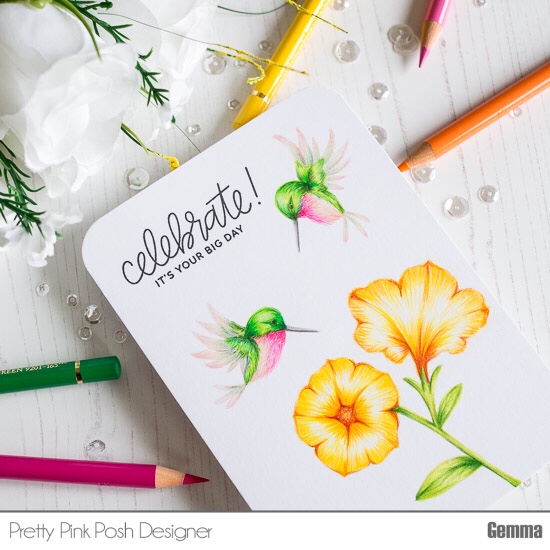
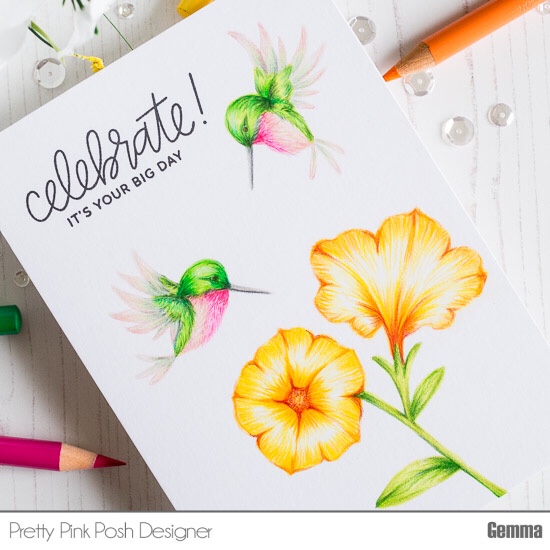
I used my faber castell polychromos pencils to add more layers of colour to the images. Pencils are great for getting a feathery texture on the hummingbirds. Keep adding layers, with various shades ranging from light to dark, until you are happy with the depth of colour and shading.
To turn this into a card, I added the panel to a white card base, the rounded the corners. I stamped a sentiment from the PPP Everyday Sentiments stamp set at the top. I decided to leave the card free of embellishments this time, to allow the colouring to really be the focus.
I’m really pleased with how this card turned out and will definitely use this technique more on cards in the future.
Supplies List:
Numbers listed below are for Faber Castell Polychromos coloured pencils.
Hummingbirds:
- Greens: 171, 112, 161, 278
- Pinks: 131, 132, 129, 123, 127
- Greys: 233, 181, 199
- White: 101
- Copics: YG01, E000, RV02, W1, BG70
Flowers:
- Yellow/orange/red: 107, 109, 113, 115, 217
- White: 101
- Greens: 168, 266, 165
- Copics: Y11, YR14

Your card is stunning ! The coloring is just incredible and the choice of colors is really excellent. I love it !
LikeLiked by 1 person
Another stunning creation. You are so gifted.
LikeLiked by 1 person
Your card is beautiful! Wish I could be so artisy! Keep the good work.
LikeLiked by 1 person