Hello and welcome to my blog! I’m so excited to be joining this Spellbinders blog hop today!
If you’re following along the blog hop, you should have arrived here from Olga Direktorenko. I’ll list all of today’s blog hop participants below, if you want to start at the beginning.
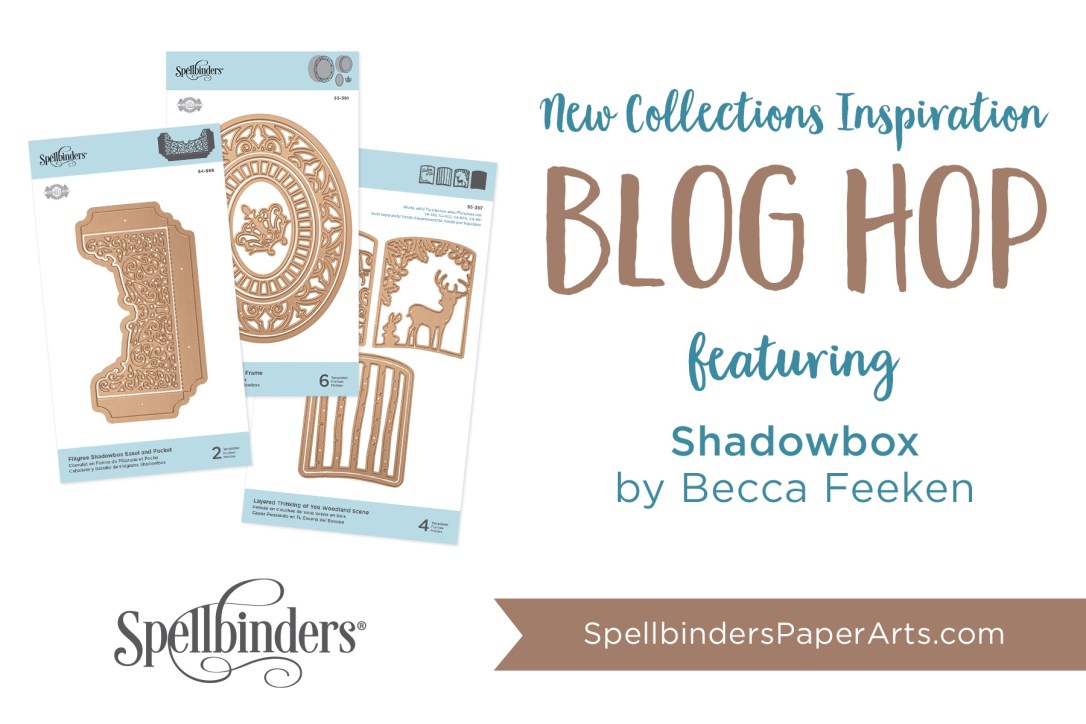
I have two projects to share today, featuring the new Shadowbox collection by Becca Feeken.
I absolutely love this amazing Shadowbox frame die set! I now want to Shadowbox all the things! I have several ideas for using this frame for future projects. Once you’ve made a few, it’s not difficult to make neat frames at different sizes.
Project 1:
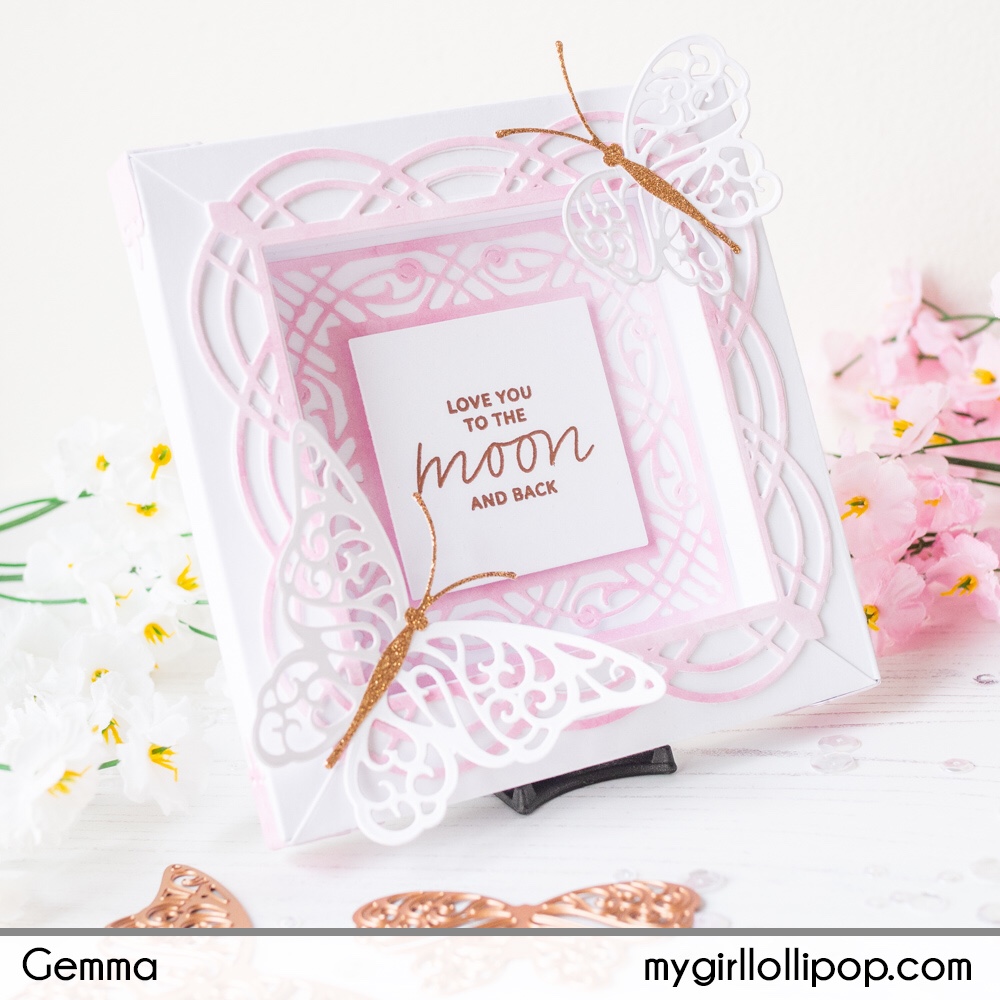
For my first project, I made a 5 x 5 inch ShadowBox frame. I have the 3/4 inch border die set, so I cut 5 pieces of white card, using my Spellbinders Platinum 6 machine, as follows:
- 1 piece at 5 x 5 inches. This is the back panel for the box.
- 4 pieces at 3 x 5 inches. These make the frame. (Note: the 3” dimension is specific for the 3/4 inch border frame set. This dimension will be different for the 1/2 or 1/4 border frame sets.)
- 8 of the corner pieces in white. (4 will be used to connect the frame pieces together, and the other 4 for the outside corners to help secure and tighten the frame).
I won’t go into detail about how I put the frame together as there will be instructions and videos available showing you this much better than I can explain here. I’ll link to a ‘how to’ video at the end of this post.
I cut 4 more of the corner pieces from pink patterned paper, to adhere over the card corner pieces on the outside. I layered these over the card as I didn’t think the patterned paper alone would be strong enough to secure and tighten the frame.
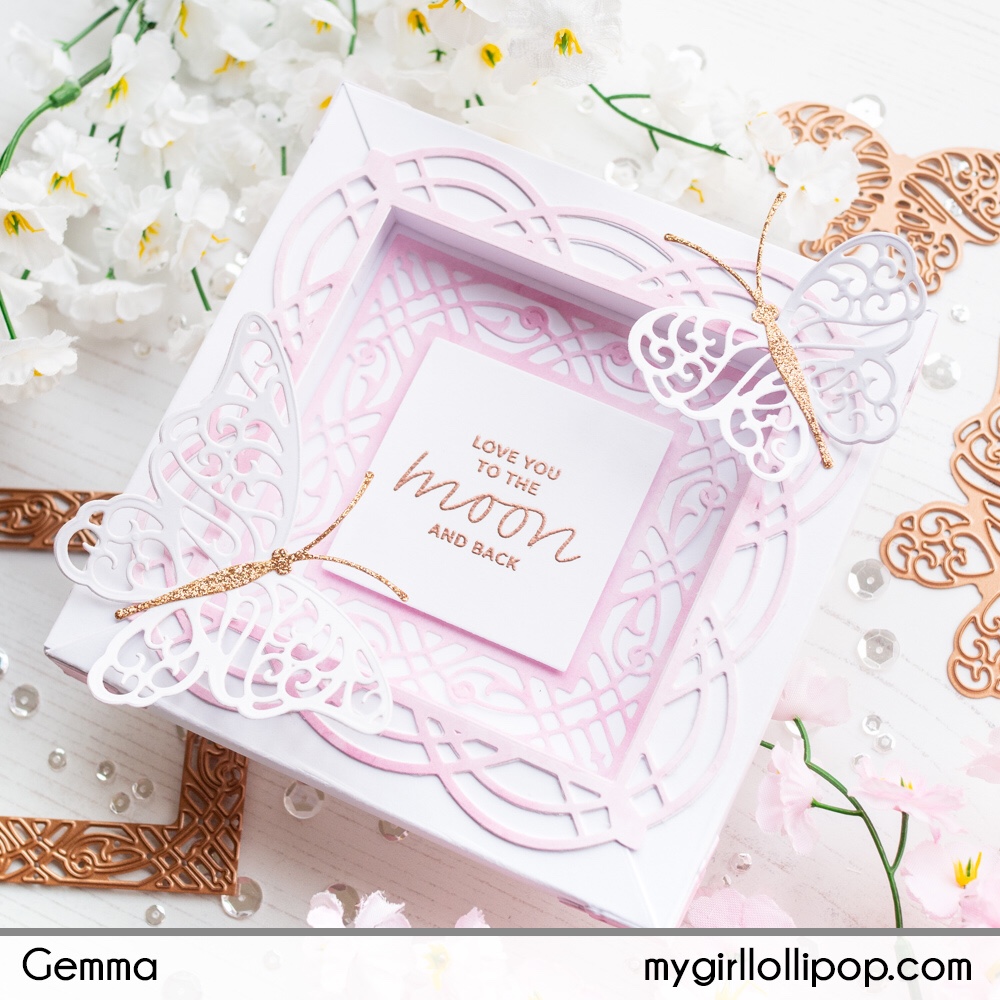
To decorate my box, I used the Shapeabilities Adoria Square Shadowbox Frame Etched Dies. I die cut the outer frame from pink patterned paper and also white card, layered them together and adhered to my frame. The card behind the paper gives it more stability.
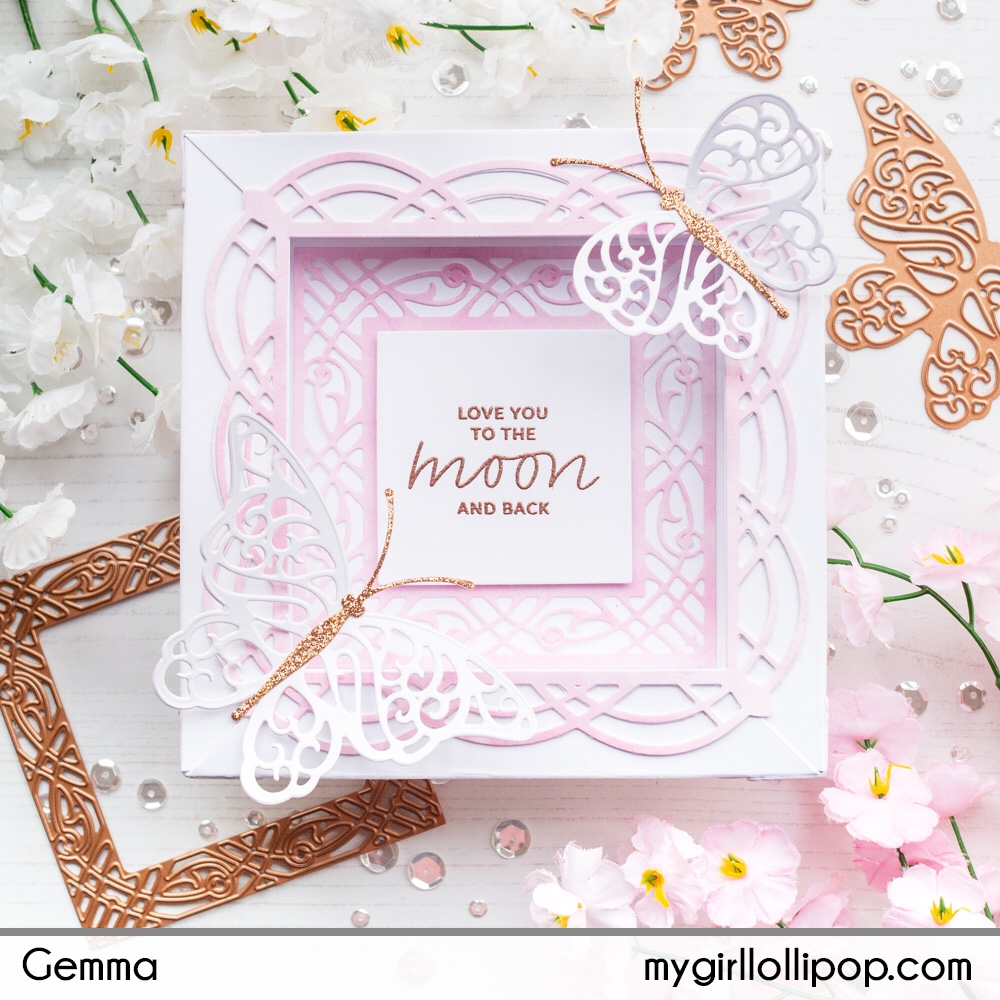
For inside the box, I die cut the second smallest square from the same patterned paper. I heat embossed a Pretty Pink Posh sentiment onto a white die cut square, using WOW Metallic Copper Super Fine embossing powder. I adhered this inside the frame using foam tape.
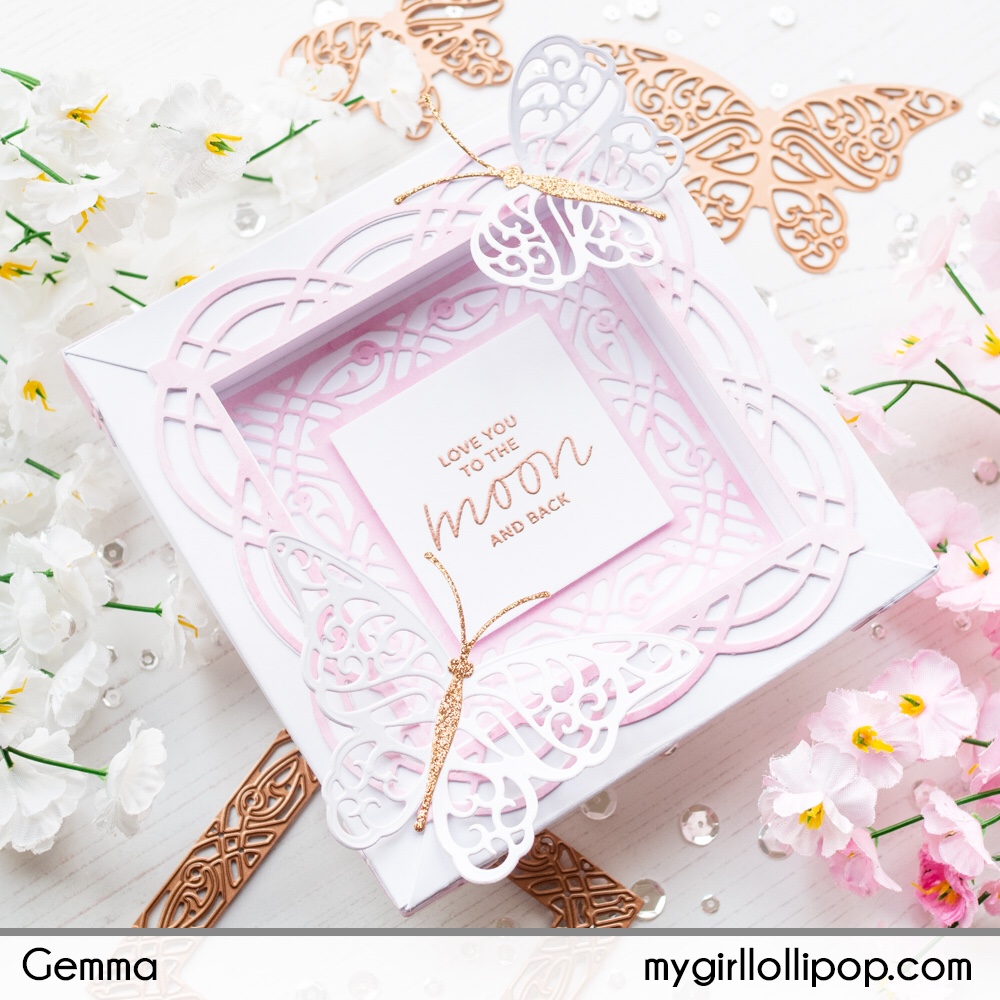
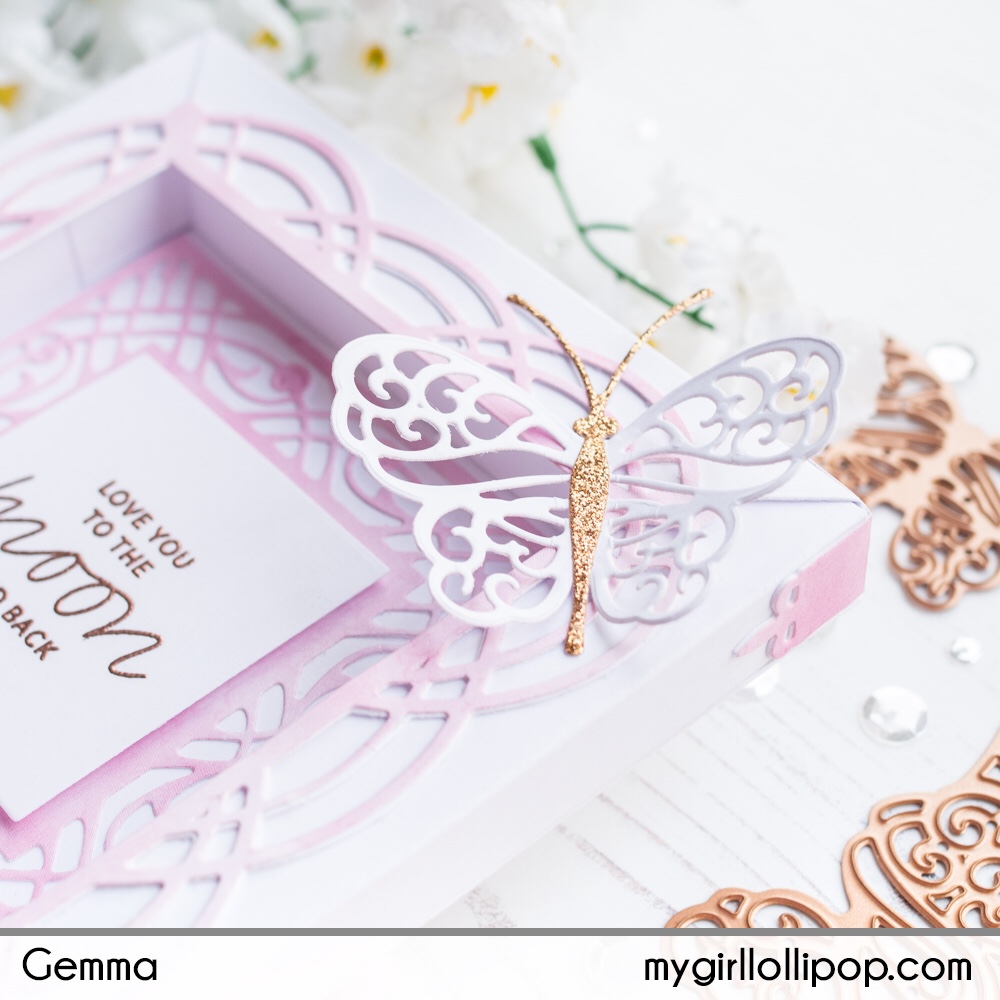
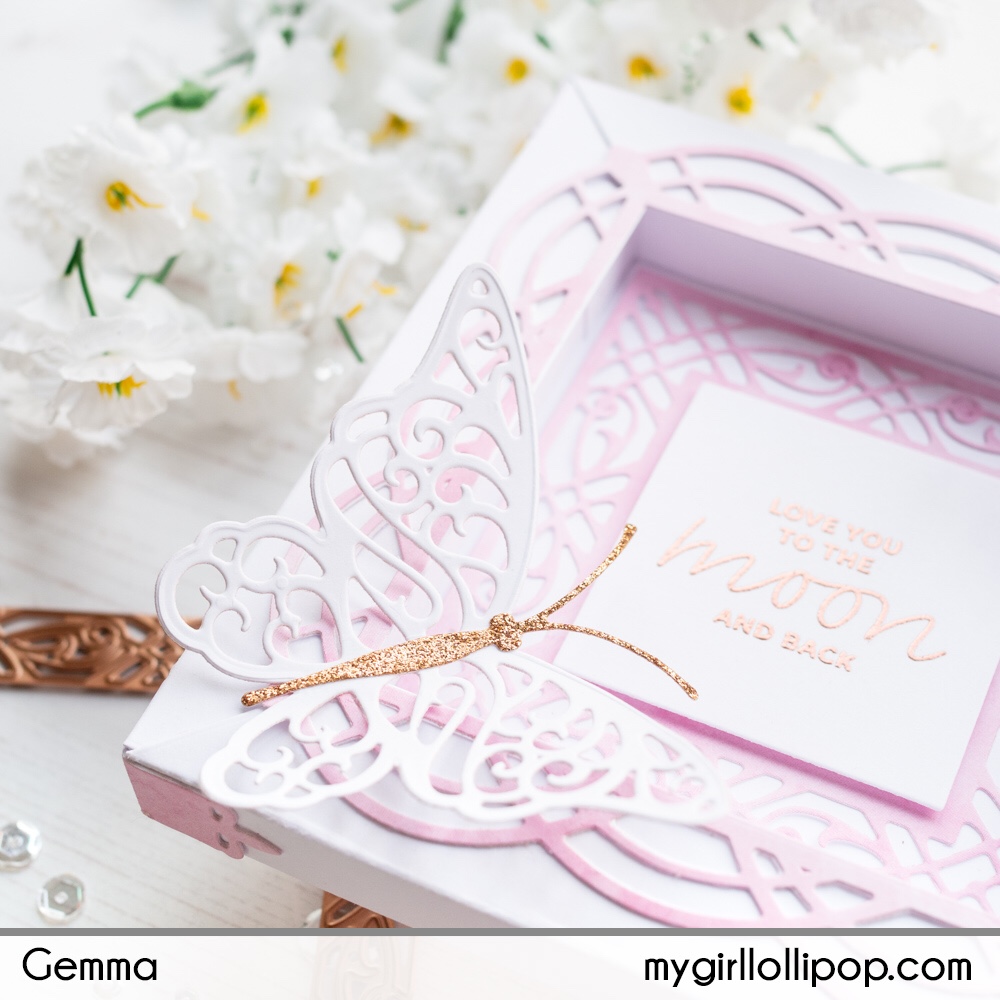
For a pretty finishing touch on the outside of the box, I used the Shapeabilities Flutter Wing Shadowbox Butterflies Etched Dies. I die cut the butterfly wings from white card, then die cut the bodies from copper glitter card. I adhered these to the frame with liquid glue, just under the bodies so the wings can stand out.
These boxes are so pretty. I think they’d be perfect for a new baby or christening keepsake.
Project 2:
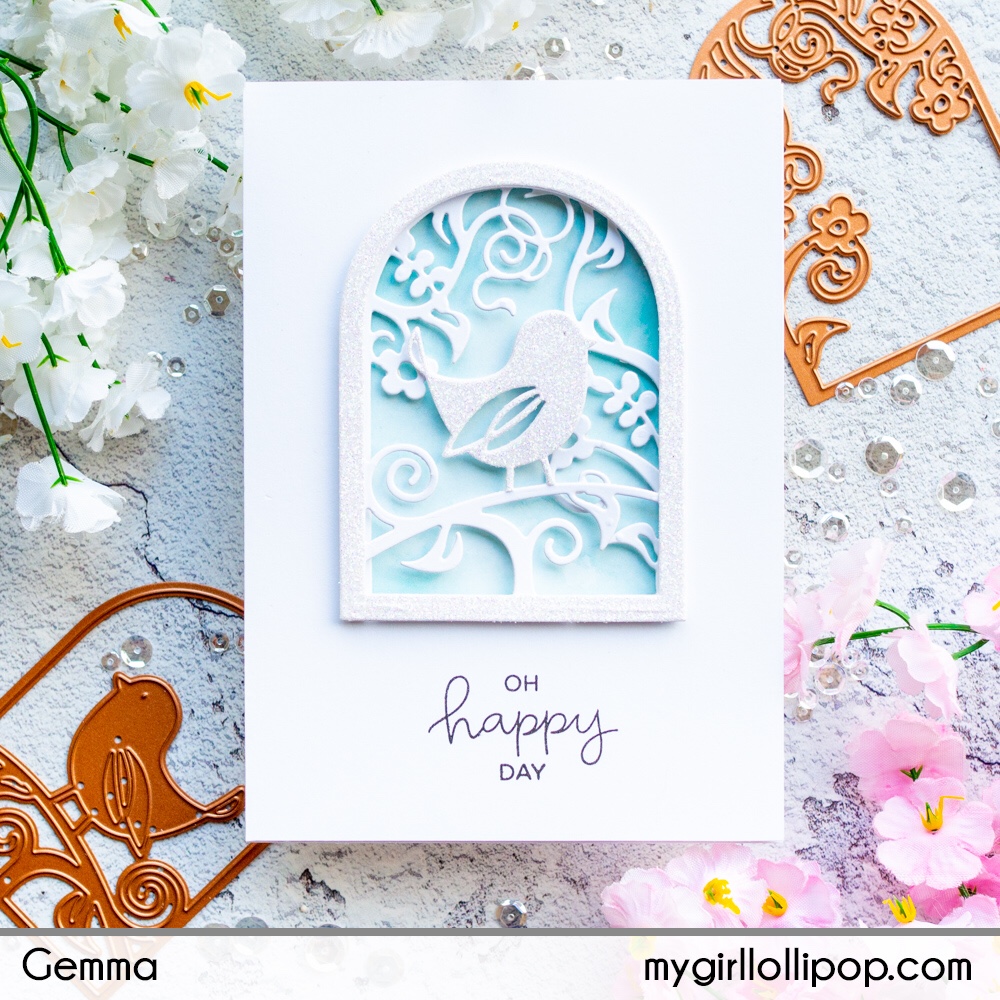
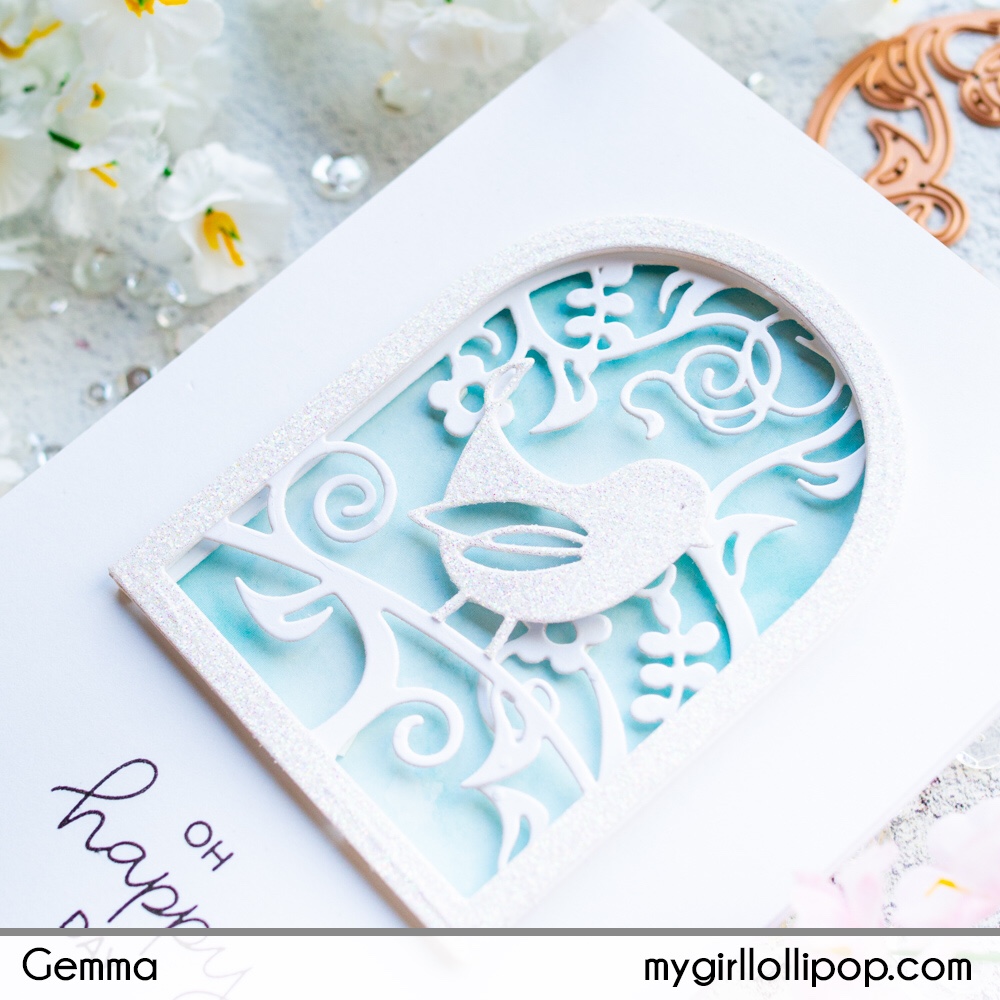
For my second project, I decided to use the Shapeabilities Layered Sweet Birdie Thanks Scene Etched Dies to make a card. I love the look of paper cut art, so that was my inspiration for this card.
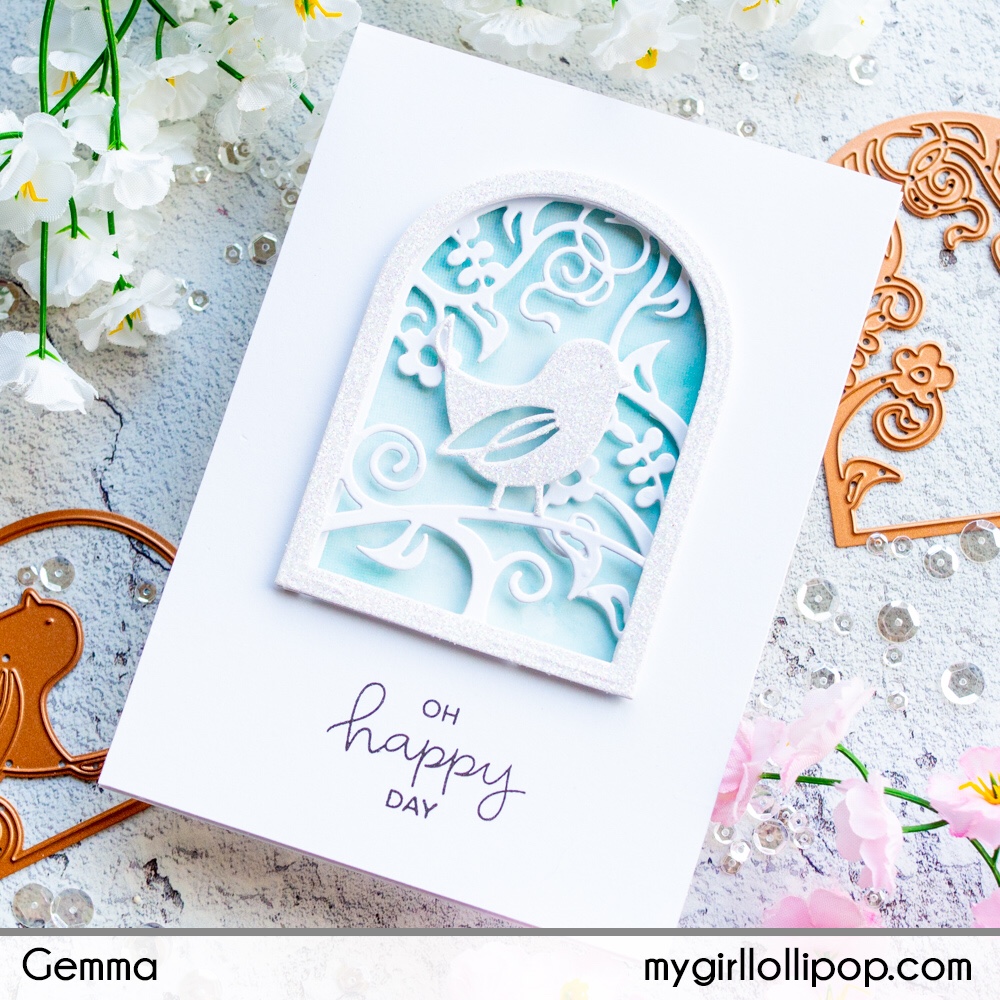
The set comes with several panels to create a layered look. I began by die cutting the floral arch from a piece of white card. I then stamped a sentiment from a Hello Bluebird set underneath the arch.
I used the background arch die to cut a piece of blue patterned paper, adhering to my card base. I then added the floral arch panel on top with foam tape.
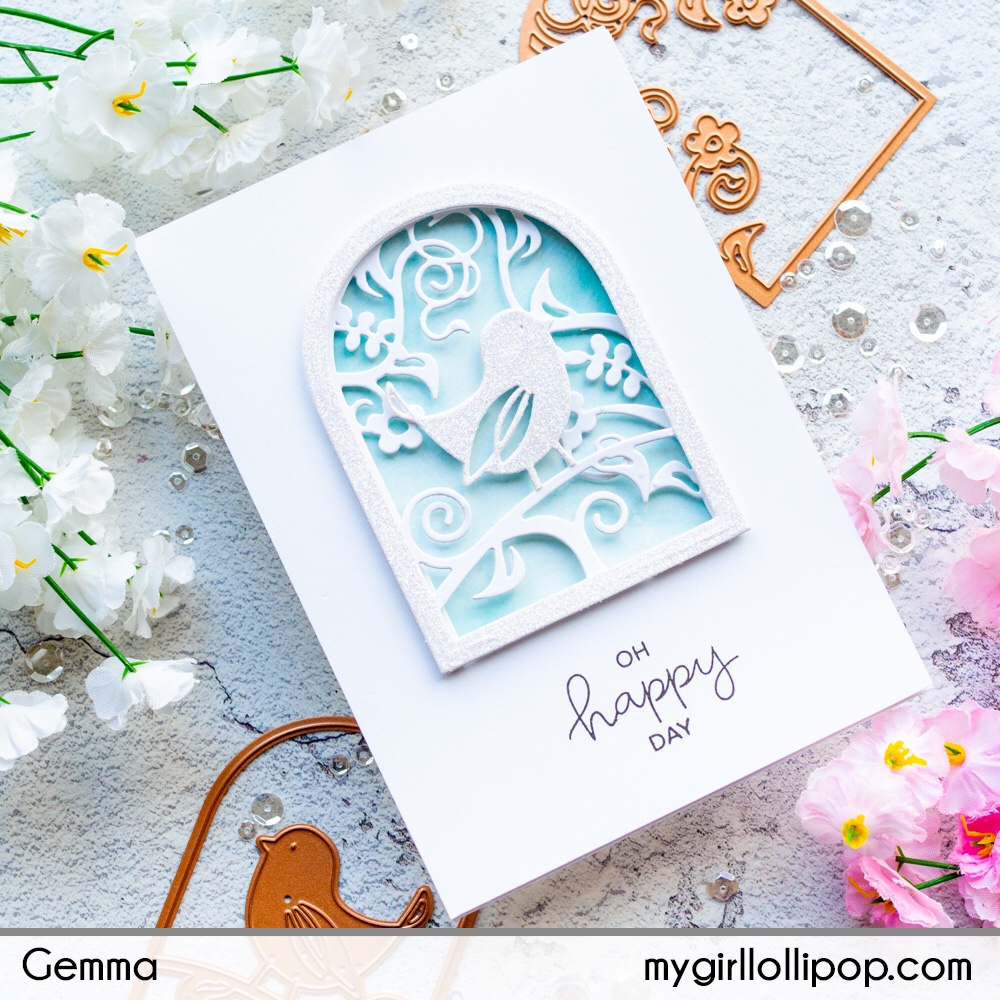
For the top layer, I die cut the bird arch die along with the background arch to create a frame layer from white glitter card. I added this to my card with more foam tape.
I think this card would work beautifully for a birthday or wedding card.
Giveaway:
To celebrate this release, Spellbinders are giving away a $50 gift certificate to 3 lucky blog readers – selected from the comments across all of the blogs in the hop. Giveaway closes on Sunday, February 10th 11:59 pm EDT. Winners will be announced in our blog hop post the following Monday. Winner is responsible for shipping cost, duties and taxes.
Thank you so much for stopping by my blog today. Your next stop is Sandra Nagel. Happy hopping!
Here is the complete list of blog hop participants:
Spellbinders
Becca Feeken
Nichol Spohr
Hussena Calcuttawala
Jung AhSang
Tina Smith
Lea Lawson
Desiree Kuemmerle
Dawn McVey
Olga Direktorenko
Gemma Campbell (You are here)
Sandra Nagel
Jennifer Snyder
Jean Manis
Yana Smakula
Here is a link to a great ‘How To Assemble a Shadowbox’ video on YouTube.

I love the gold and the soft colors you used on both! Just stunning
LikeLiked by 1 person
The copper and pink card is gorgeous and the blue and white is beautiful! I love them both.
LikeLiked by 1 person
Very sweet projects!
LikeLiked by 1 person
Love everything about it!
LikeLiked by 1 person
Gorgeous. the layered sweet birdie is so sweet.
LikeLiked by 1 person
How absolutely adorable!
LikeLiked by 1 person
WOW! Such clean and beautiful projects. Love your compositions and the lovely soft colors.
LikeLiked by 1 person
Oh I am soo excited to see the little bird image on your beautiful card! I also love how you added just the right amount of sparkle on the butterflies to keep it delicate looking! Thanfod fornthe
LikeLiked by 1 person
I love this frame. It would great in a baby girl nursery. It’s so sweet looking. Thank you for sharing. Blessings.
LikeLiked by 1 person
I love the idea of smooth lines for paper cut art. The dies really help that next step of professionalism. wonderful
LikeLiked by 1 person
Very cute
LikeLiked by 1 person
Pretty colors.
LikeLiked by 1 person
I am all over how you added the soft blending of color to the delicate dies! Beautiful!
LikeLiked by 1 person
Your projects are beautiful, I like how you made the frame more secure and I love the soft and pretty colours!
LikeLiked by 1 person
These creations remind me of art deco designs. Very lovely.
LikeLiked by 1 person
I love the soft colours of the first piece, but your bird card is breathtaking!
LikeLiked by 1 person
Love that Sweet Etched Birdie and how you put all the layers together.
LikeLiked by 1 person
Bea-ti-ful!!! Your project is absolutely dreamy! It so makes me smile!!
LikeLiked by 1 person
Bea-ti-full Your project is absolutely dreamy! It so makes me smile!! absolutelyBea-ti-full
LikeLike
Love the butterflies
LikeLiked by 1 person
Oh Gelmma, what pretty cards and boxes. I loved the bird one so much I think it would be a great card to send out to my elderly Auntie who loves them so much. Thank you for your inspiration to inspire all of us peeps.
LikeLiked by 1 person
Love your creativity!
LikeLike
Beautiful projects.
LikeLiked by 1 person
I love the softness of your work. Very beautiful. Thanks for sharing
LikeLiked by 1 person
OMG, beautiful projects.
LikeLiked by 1 person
Oh what gorgeous and beautiful projects! Love the balance of color.
LikeLiked by 1 person
beautiful bird project!!
LikeLiked by 1 person
I really liked the butterfly shadowbox. It is so light and airy and was so uplifting this dreary winter day with its spring-like pinks. The delightful card made with the Layered Sweet Birdie die was great in blue. Thanks for sharing your creativity.
LikeLiked by 1 person
Love this Shadow Box. Love the soft colors
LikeLiked by 1 person
These are so intricate and delicate and are perfect to lighten up any day. Thanks for sharing your creativity.
LikeLiked by 1 person
Oh, my!!! How beautifully done!! I love the flourish layering inside and out of the butterfly frame!! Also, am in awe of the Bluebird layering and giving it the 3D vignette feel!! I thought that it was a frame because of your clever design! Great work, both!!!
LikeLiked by 1 person
Such a beautiful shadowbox and card! Love the colors.
Thanks for sharing…
LikeLiked by 1 person
These are so soft and lovely! Great job!
LikeLiked by 1 person
What beautiful projects- I love the soft colors! This shadowbox die is so versatile- it’s definitely on my wishlist!
LikeLiked by 1 person
Beautiful projects. The first one made my heart skip — I’ve been saying “love you to the moon and back” to my precious granddaughter since the day she was born. I really need to make something like this for her.
LikeLiked by 1 person
AWESOME!
LikeLiked by 1 person
Beautiful projects. Love the pastel colors.
LikeLiked by 1 person
The butterfly shadow box is gorgeous!
LikeLiked by 1 person
Gorgeous cards! Love the beautiful dies you used and your lovely color combos!
LikeLiked by 1 person
A BREATH OF FRESH AIR! I LOVE TIS ARCH AND BIRDIE warm and inviting tweet tweet little birdie i would love to meet you in my craft room 🙂 Thanks
LikeLiked by 1 person
The delicate lines on the first project are gorgeous! And the bird is adorable!
LikeLiked by 1 person
Both projects are adorable!
LikeLiked by 1 person
I am at a loss for words. Beautiful is an understatement! Such great layouts and colors. WOW!!
LikeLiked by 1 person
Your shadow box is beautiful. I love the frames and soft colors. The butterflies look lovely with their glittered bodies. Your bird scene looks lovely as well.
LikeLiked by 1 person
I absolutely love the gold and the shadow boxing
LikeLiked by 1 person
very pretty – loving the layering dies!
LikeLiked by 1 person
love the pastel colors, making the project look so delicate
LikeLiked by 1 person
Very pretty creations!
LikeLiked by 1 person
Simply lovely! So elegant!
LikeLiked by 1 person
Gemma, your projects are so beautiful and shabbilicious. I looooove the pink box. It screams me all the way. Thanks for the inspriration. I mus tget my hands on these dies.
LikeLiked by 1 person