
Today I’m sharing cards made with the Spellbinders September 2019 card kit. The kit is packed full with everything you need to make at least 10 cards. It’s definitely possible to make more, though.
The Spellbinders card kit is a monthly subscription. You can also purchase the kit extras separately, if you only want select items or would like more embellishments. For those that want to join multiple clubs and save, Spellbinders offers Value Clubs.
Price increase and new value clubs
The Spellbinders kits just keep getting better and better each month. To maintain the high quality and due to higher costs in the market, Spellbinders have recently announced a small increase in individual club kit prices of between $2.50-$3.50. Value Club Kits prices will vary depending on the individual club kits included.
For current subscribers, this increase doesn’t kick in until the October kits. For new subscribers, the price increase begins this month.
There are also two new Value club options available starting this month:
- Glimmer ‘n Cut – small die, large die and glimmer kits of the month
- Glimmer Groupie – small die, large die, card and glimmer kits of the month
OK, onto this months kit!
The September 2019 card kit is called ‘Express Yourself’. I think this might be my favourite kit so far. I absolutely love the colour palette of navy, pink and gold. The sentiment stamp set is so versatile and the exclusive die set is great fun! I’m also pleased to see smooth cardstock included this month. If you haven’t subscribed to the kit yet, I think this is a fabulous month to join.
In the kit, you get the following items:
- 10 textured white card bases with envelopes
- 9 pieces of smooth cardstock, including metallic gold
- Set of 10 dies
- Paper pad
- Stamp set
- Gemstones
- Die cut shapes
- Chipboard embellishments
- Double sided tape & foam squares
I have 6 cards to share using the kit. The only items I used in addition to the kit contents were:
- Liquid adhesive (my preferred adhesive type)
- Foam tape (I like to use a lot of foam tape so needed more than was included in the kit)
- WOW Metallic Gold Rich Pale embossing powder
- Black ink
- Scoring board and bone folder
Here are the cards I made:
Card 1 – Postcard

- Adhere a piece of patterned paper to a card base, leaving a small border
- Cut a smaller piece of white card, then add patterned paper to one half.
- Adhere a thin strip of metallic card in the centre, then adhere the white card to the card base.
- Add some die cut shapes and a chipboard sticker to finish the postcard look card.
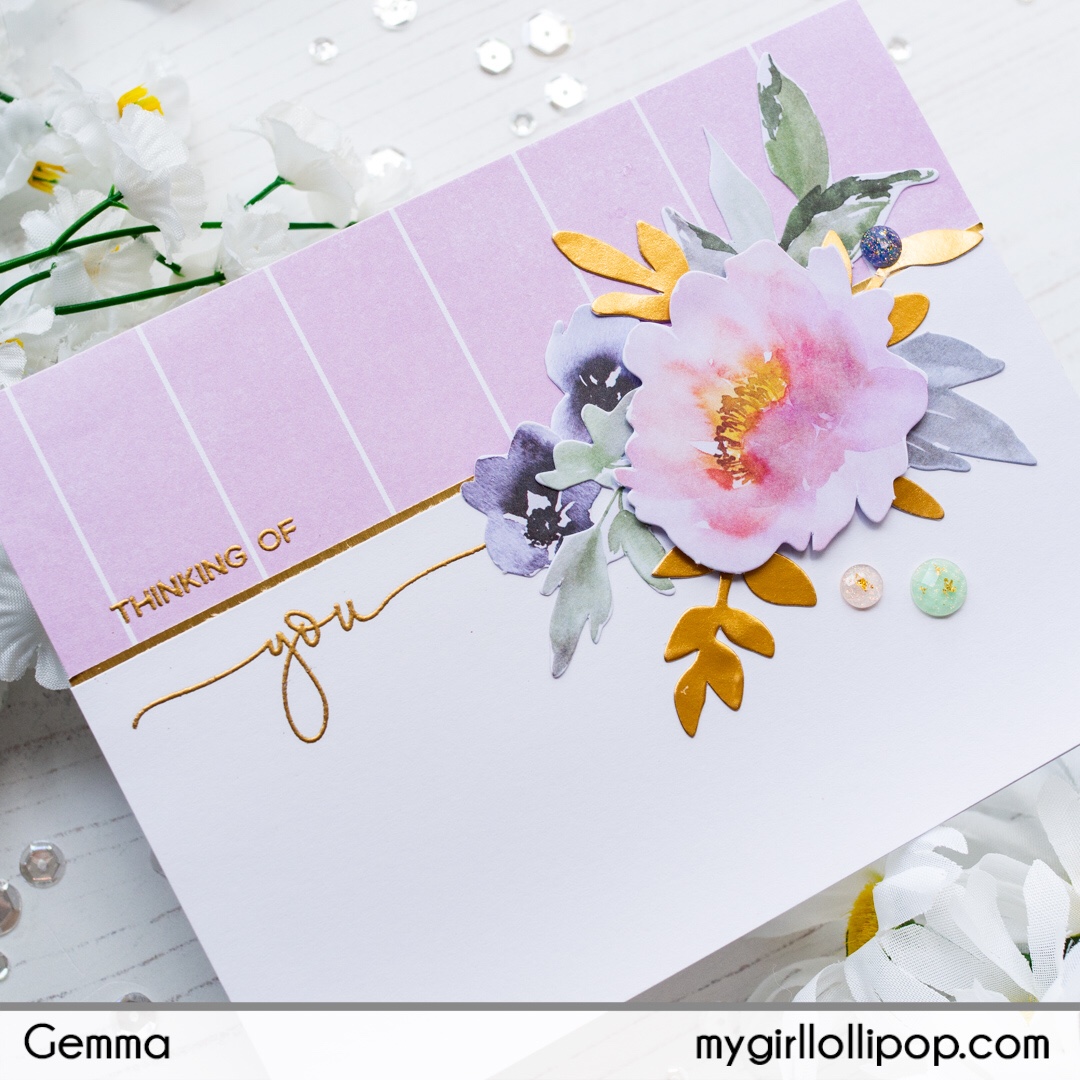
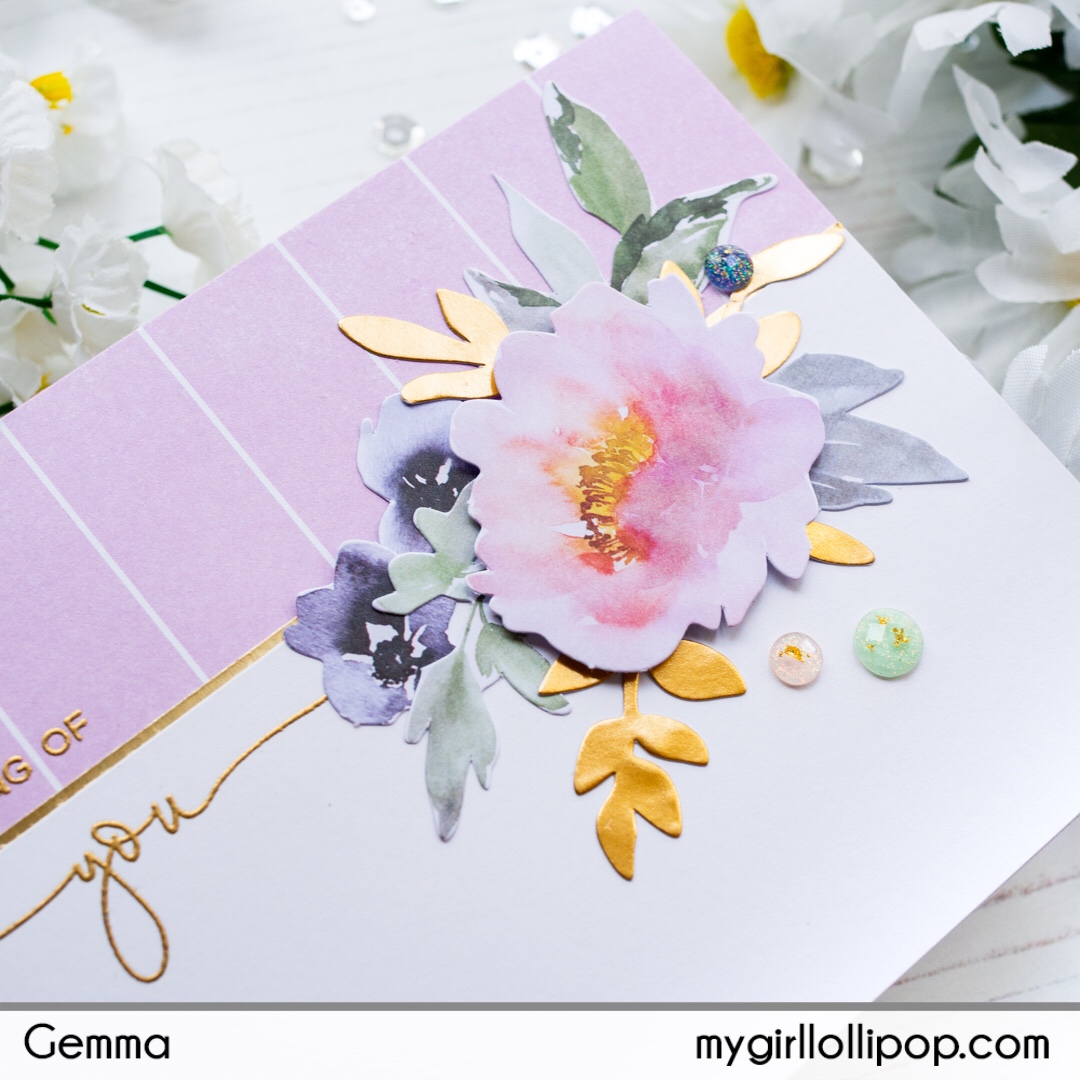
Card 2 – Thinking Of You
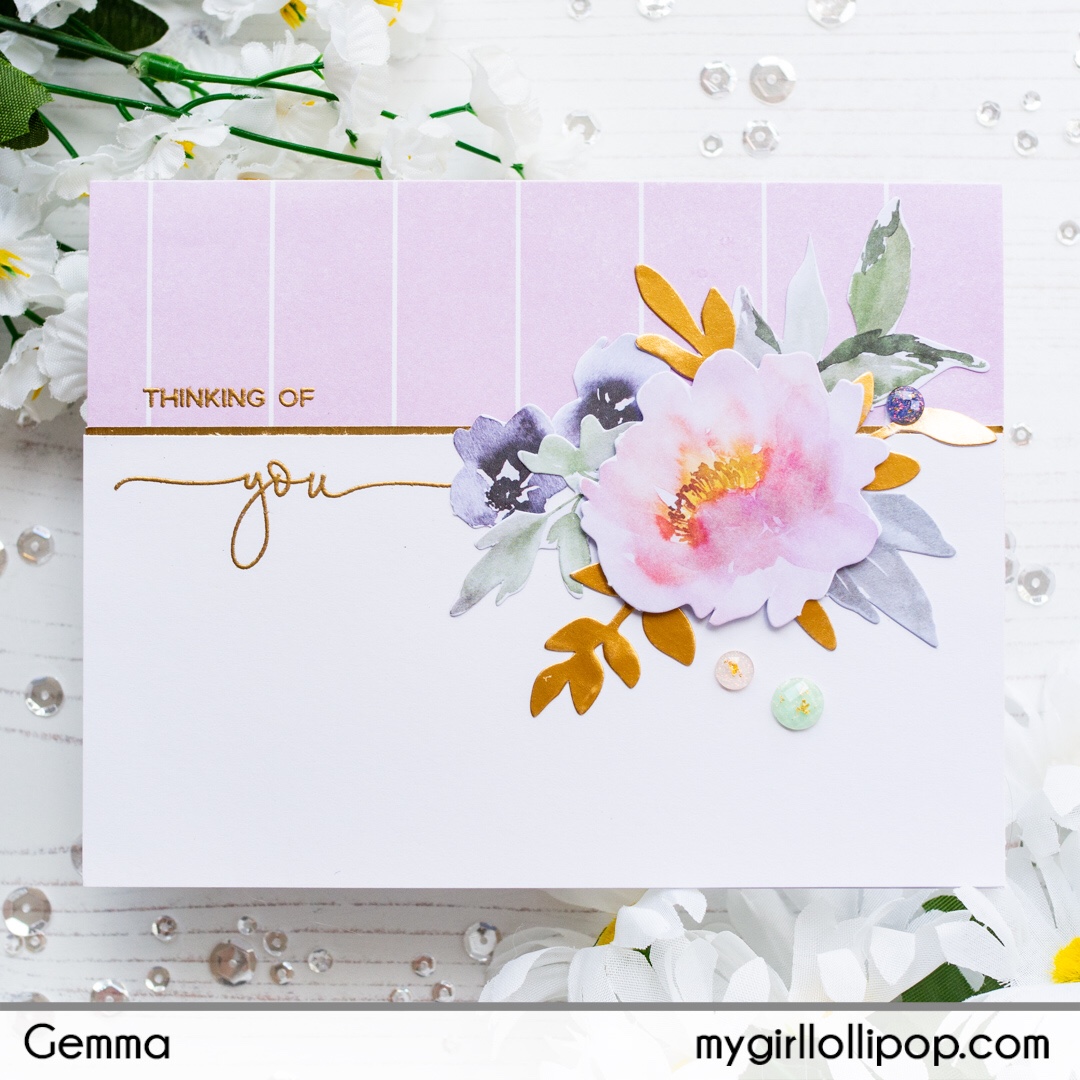
- Add patterned paper to the top of a card base.
- Cut a piece of white card to cover the rest of the card base, adding a strip of metallic card where they meet.
- Emboss a greeting from the stamp set
- Add some die cut shape flowers and leaves
- Finish with some gemstones
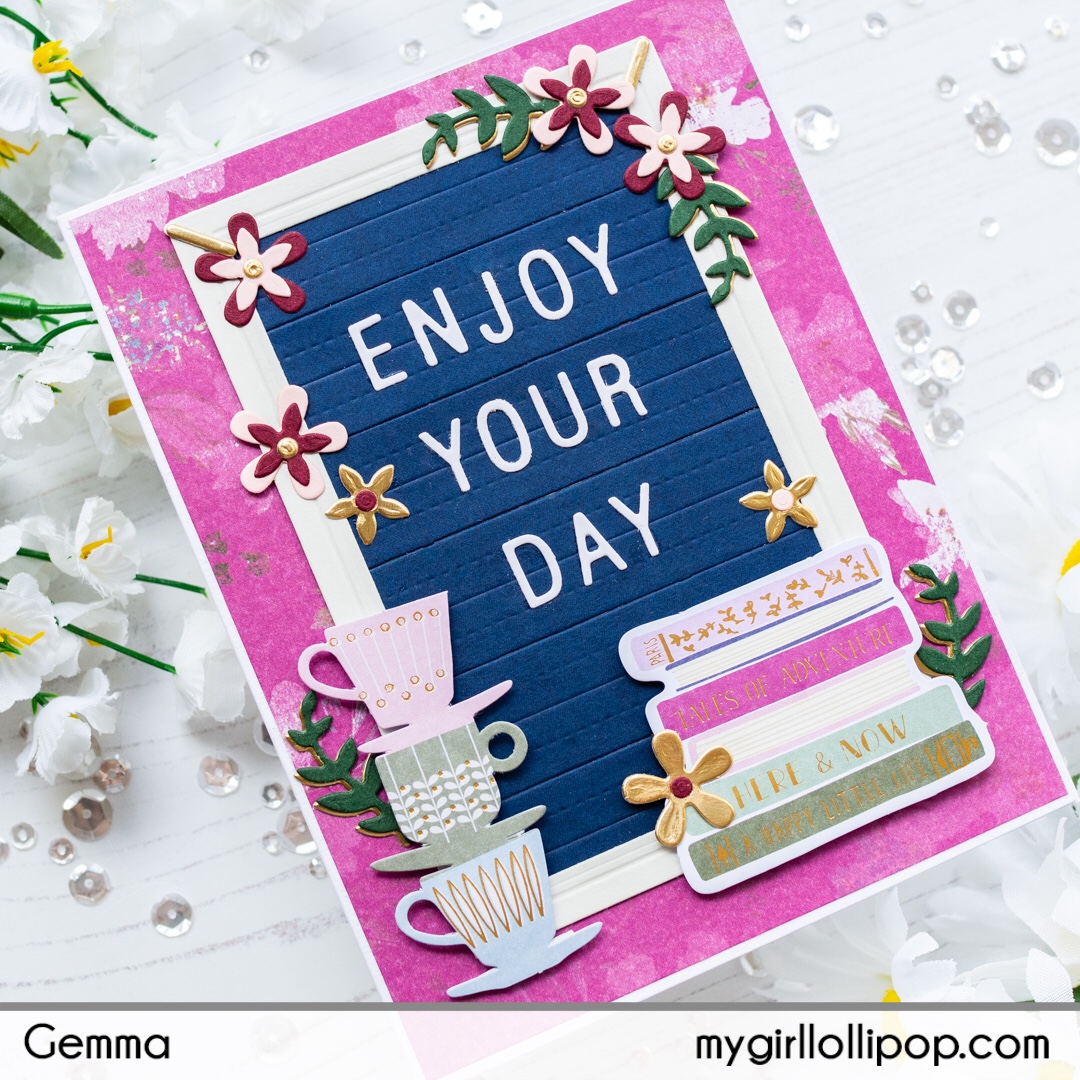
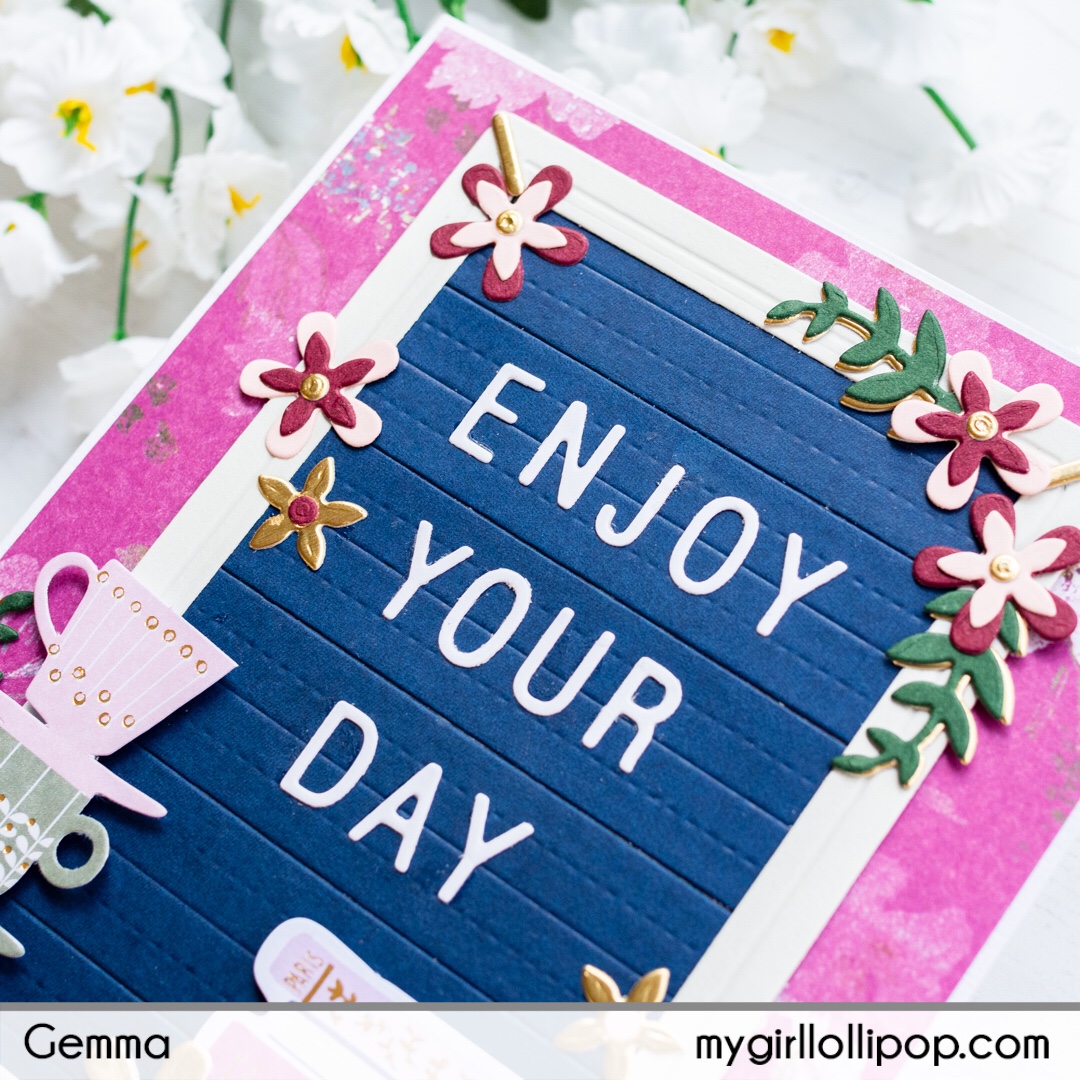
Card 3 – Tearoom
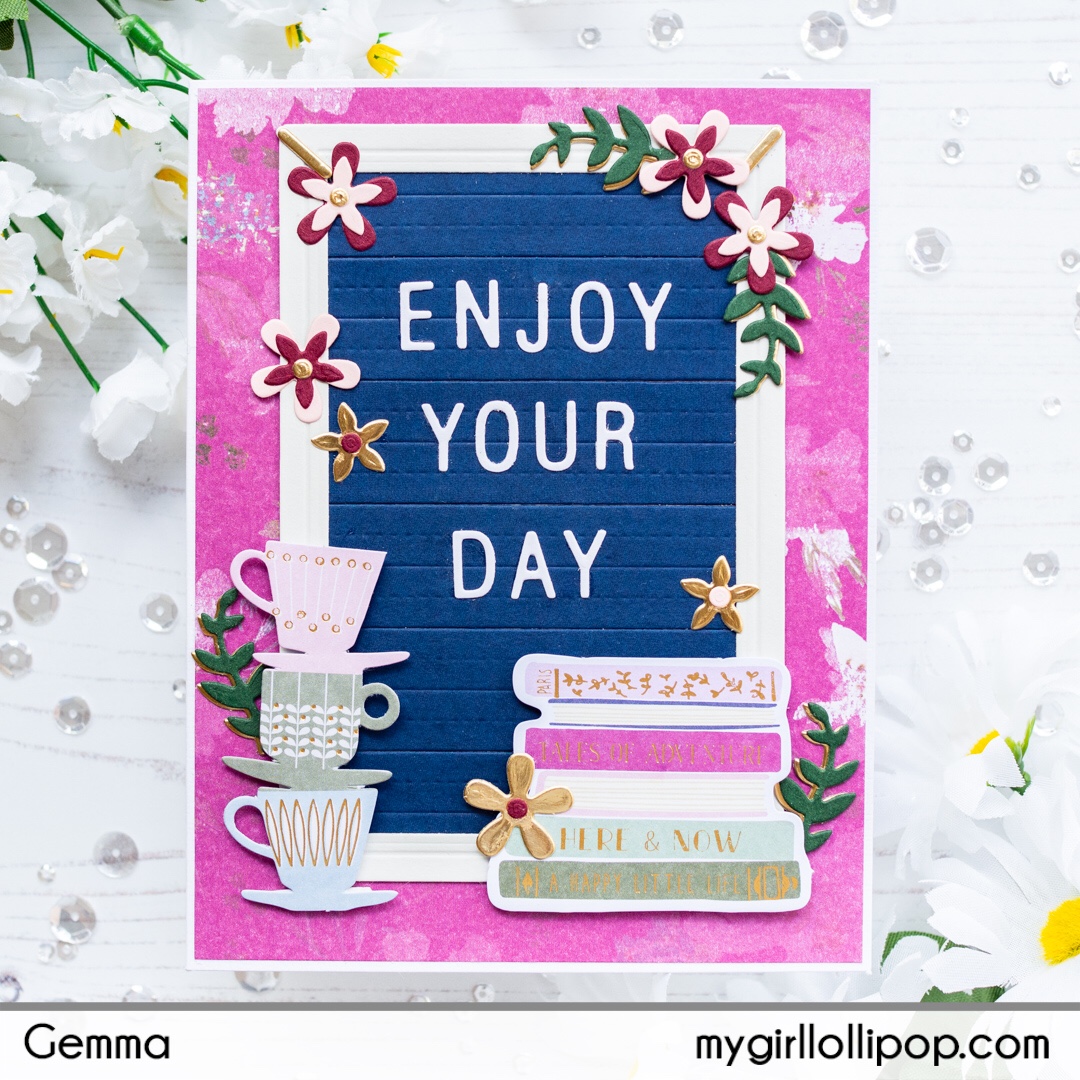
- Adhere a piece of patterned paper to a card base, leaving a small border
- Die cut the letterboard, letters, flowers and leaves from the cardstock included in the kit
- Build the letterboard and message on your card base
- Add some die cut shape books and teacups
- Finish by adding the flowers and leaves around the scene.
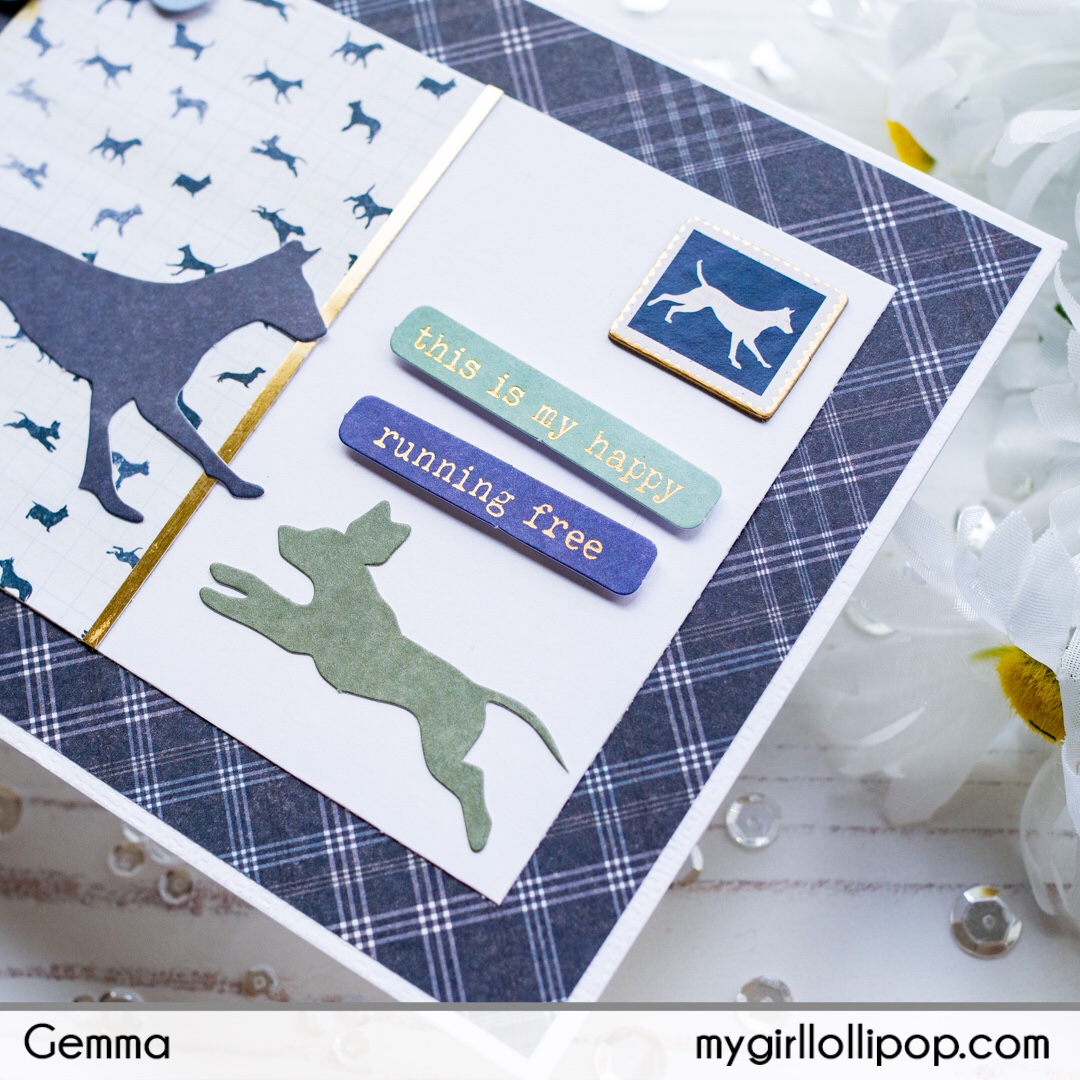
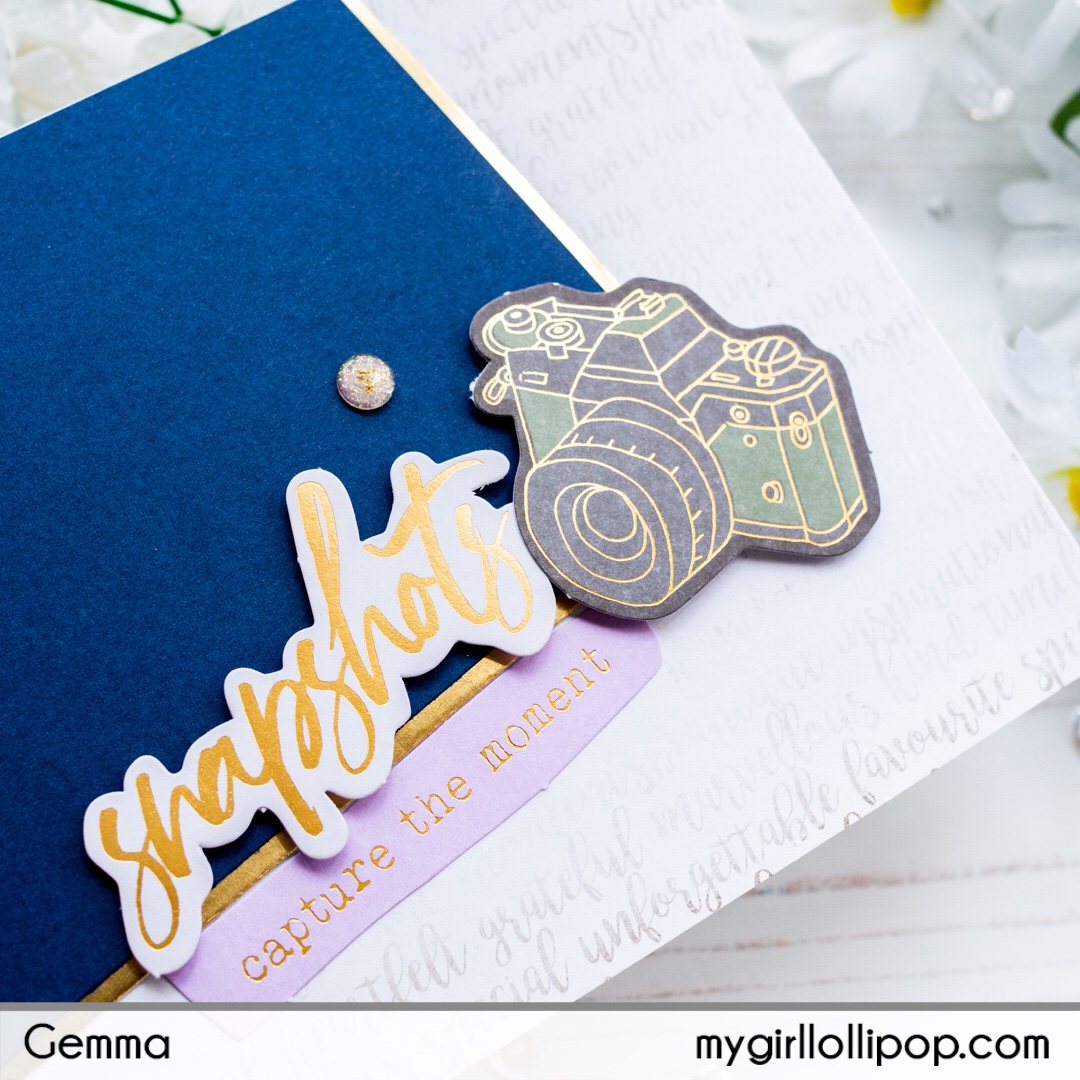
Card 4 – Snapshots
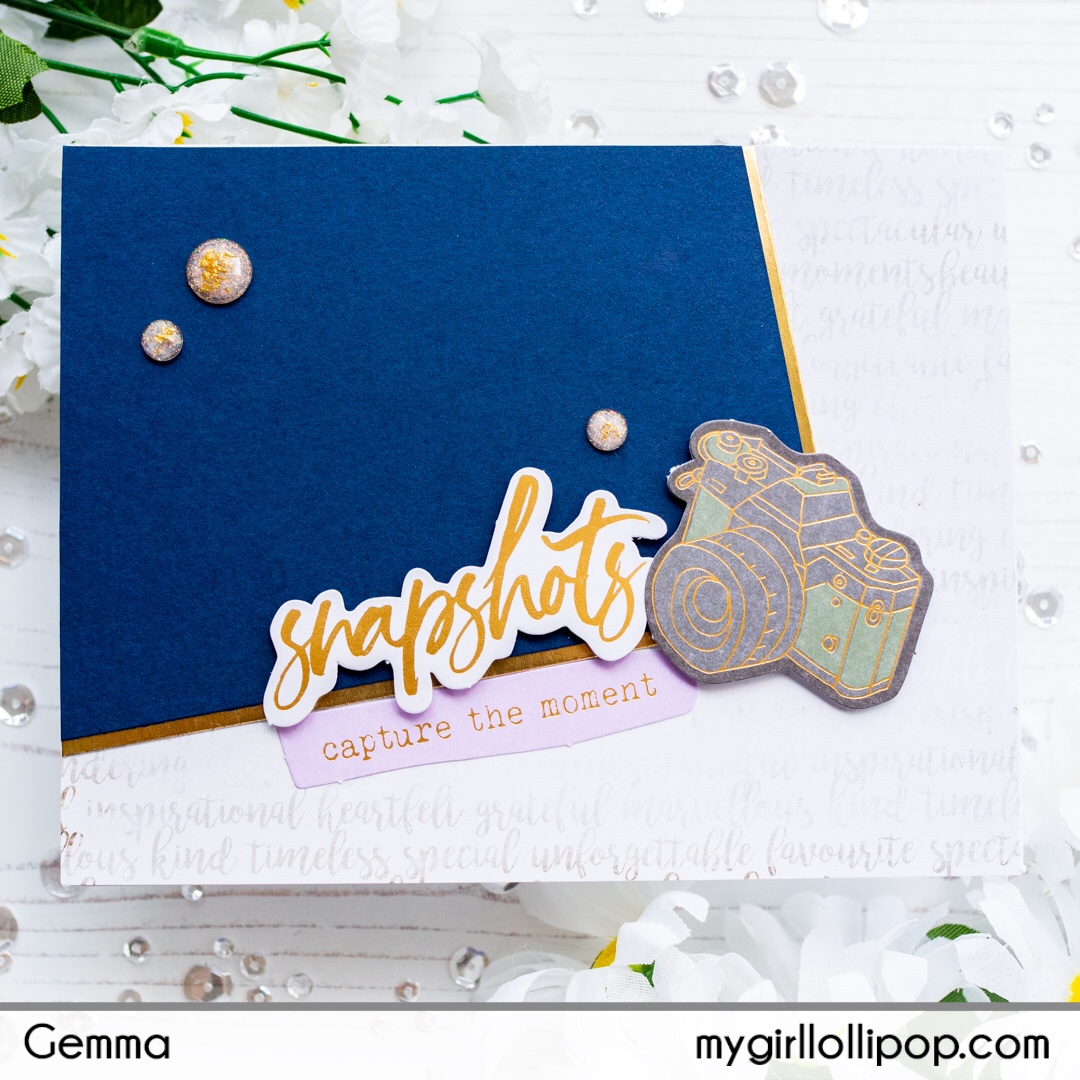
- Adhere some patterned paper to a card base
- Add some card with a metallic card border at an angle
- Adhere the ‘snapshots’ sentiment and camera die cut shapes with foam tape
- Add the second sentiment underneath
- Finish with some gemstones
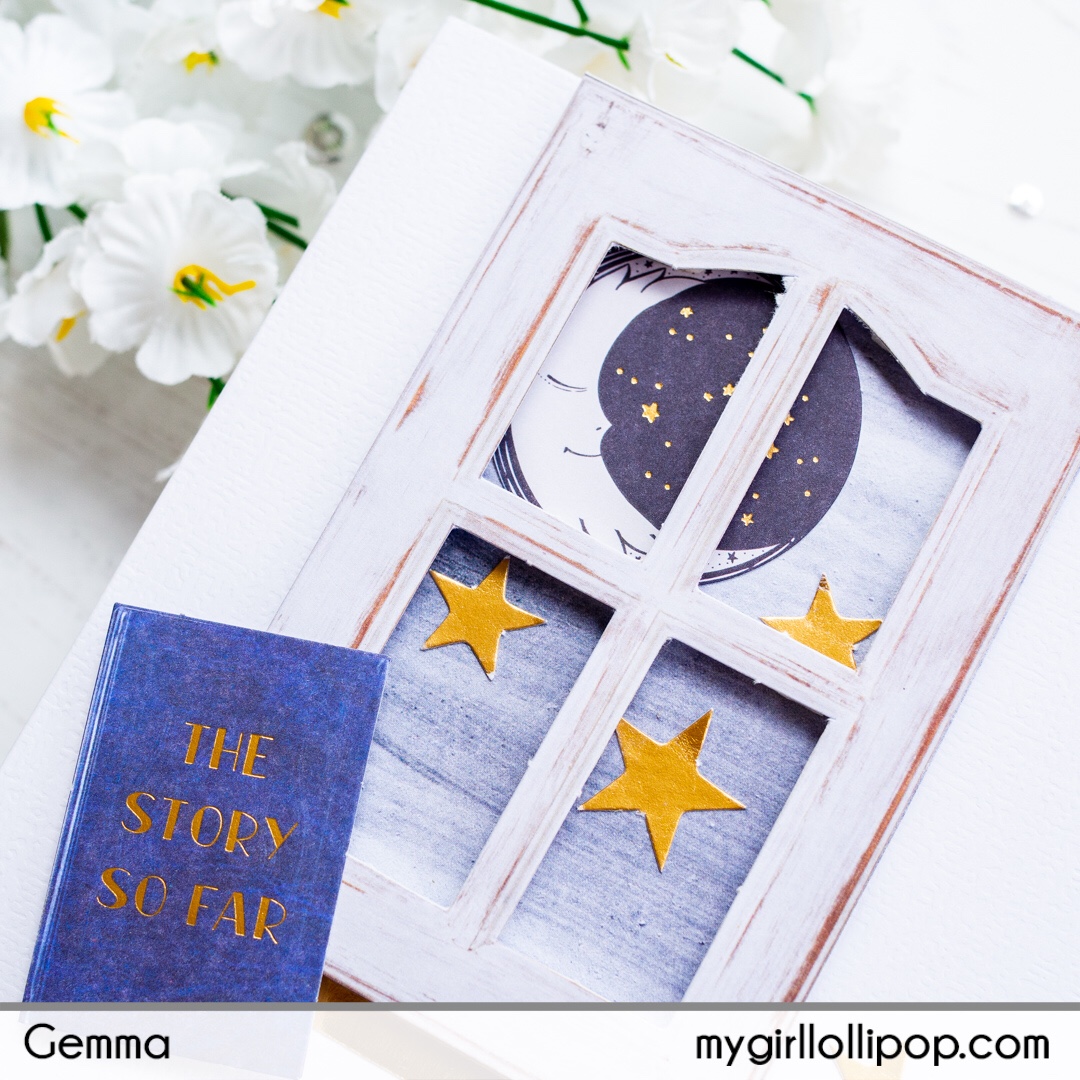
Card 5 – Bedtime Story

- Cut a piece of patterned paper, add a metallic card border to the bottom edge and adhere to a card base
- Add the moon and star die cut shapes, then adhere a die cut window shape with foam tape over the top.
- Add the book and sentiment die cut shape with foam tape
- Adhere the second sentiment and more stars to finish
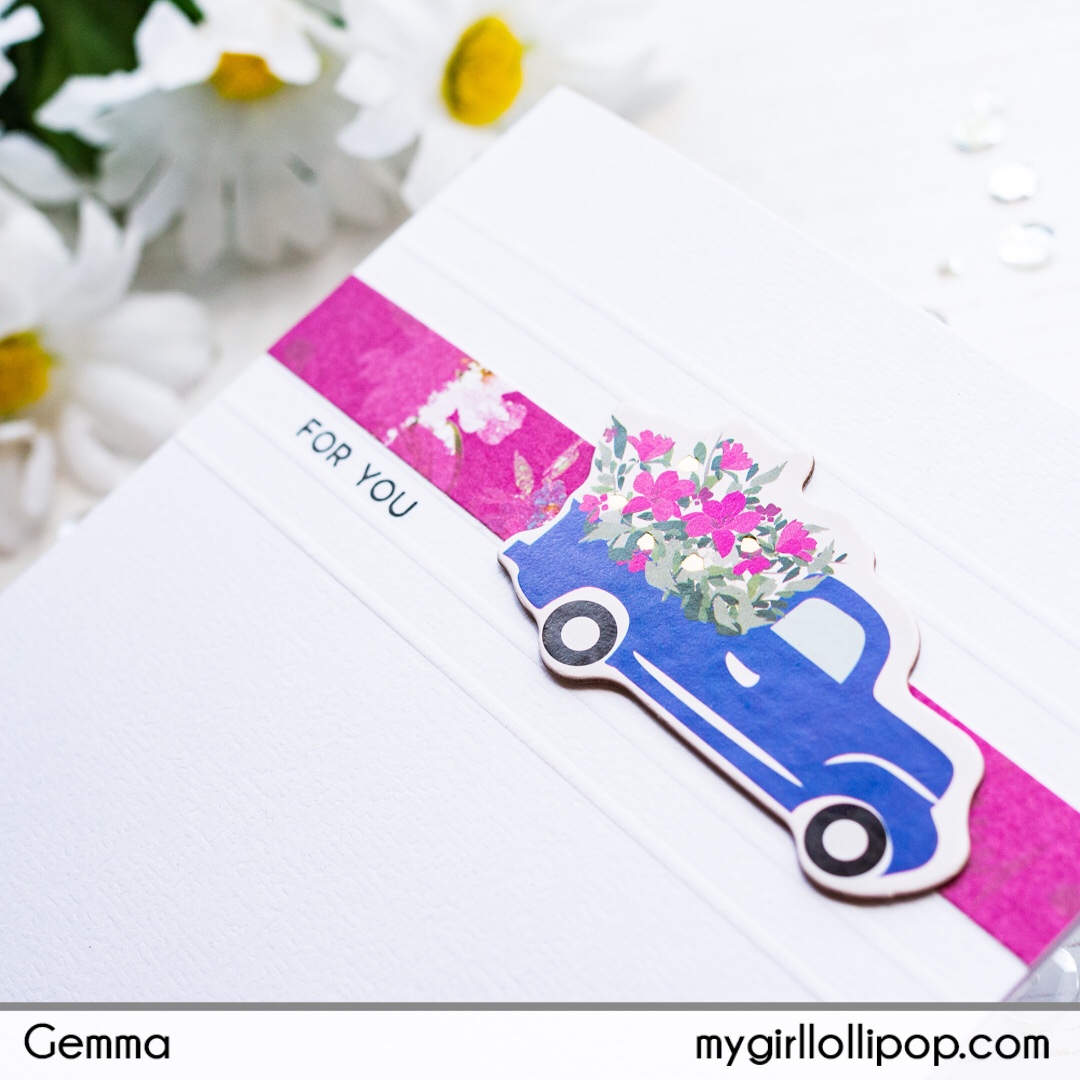
Kit Extras Card
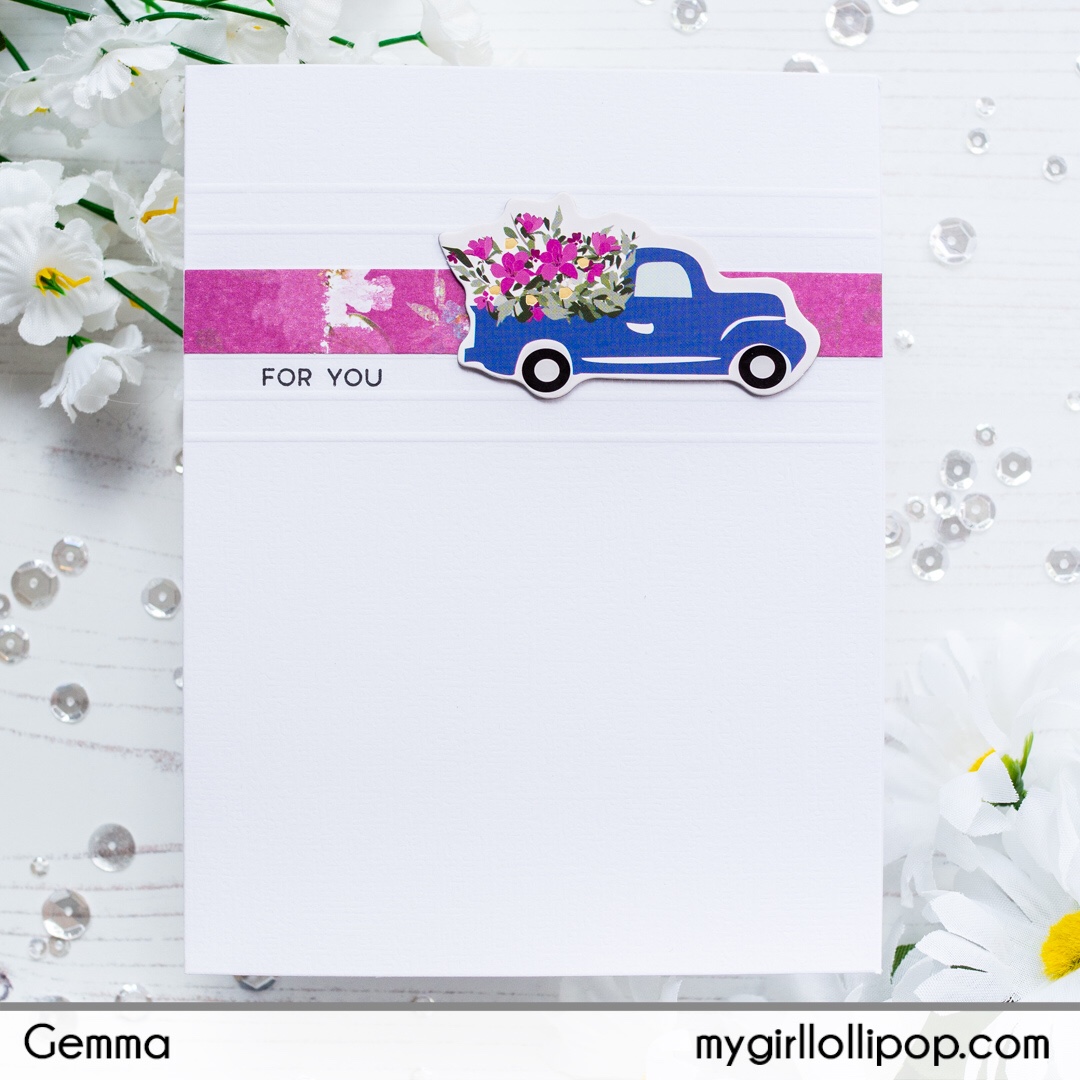
This card uses just the kit extras, which are also available separately.
- Add some score lines to a card base.
- Adhere a piece of patterned paper across the card, between the lines
- Stamp a sentiment
- Add a chipboard flower truck to finish
Thanks for joining me today. I hope you enjoyed seeing the cards I made with this fabulous kit.
