
Today I’m sharing cards made with the Spellbinders January 2020 card kit. The kit is packed full with everything you need to make at least 10 cards. It’s definitely possible to make more, though.
The Spellbinders card kit is a monthly subscription. You can also purchase the kit extras separately, if you only want select items or would like more embellishments. For those that want to join multiple clubs and save, Spellbinders offers Value Clubs.
The January 2020 card kit is called ‘Love the Moment’. It’s a beautiful collection with a love and adventure theme, and the rich colours are gorgeous.
In the kit, you get the following items:
- 10 textured white card bases with envelopes
- 8 pieces of smooth cardstock, including a sheet of mirror gold and mirror silver card
- Set of 11 dies
- Double sided tape
- Foam squares
- Stamp set
- Glitter leaves
- Adhesive diamantes
- Paper pad (also available separately as a kit extra)
- Die cut shapes (also available separately as a kit extra)
- Layered Sticker pad (also available separately as a kit extra)
I have 4 cards to share using the kit. The only items I used in addition to the kit contents were:
- Liquid adhesive (my preferred adhesive type)
- Extra foam tape
- Gold thread
Here are the cards I made:
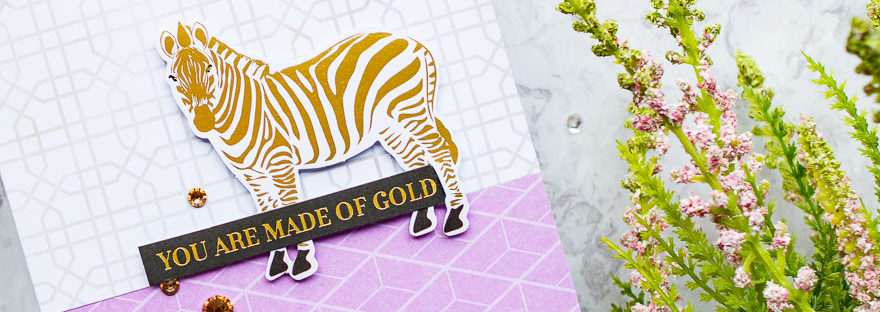
Card 1
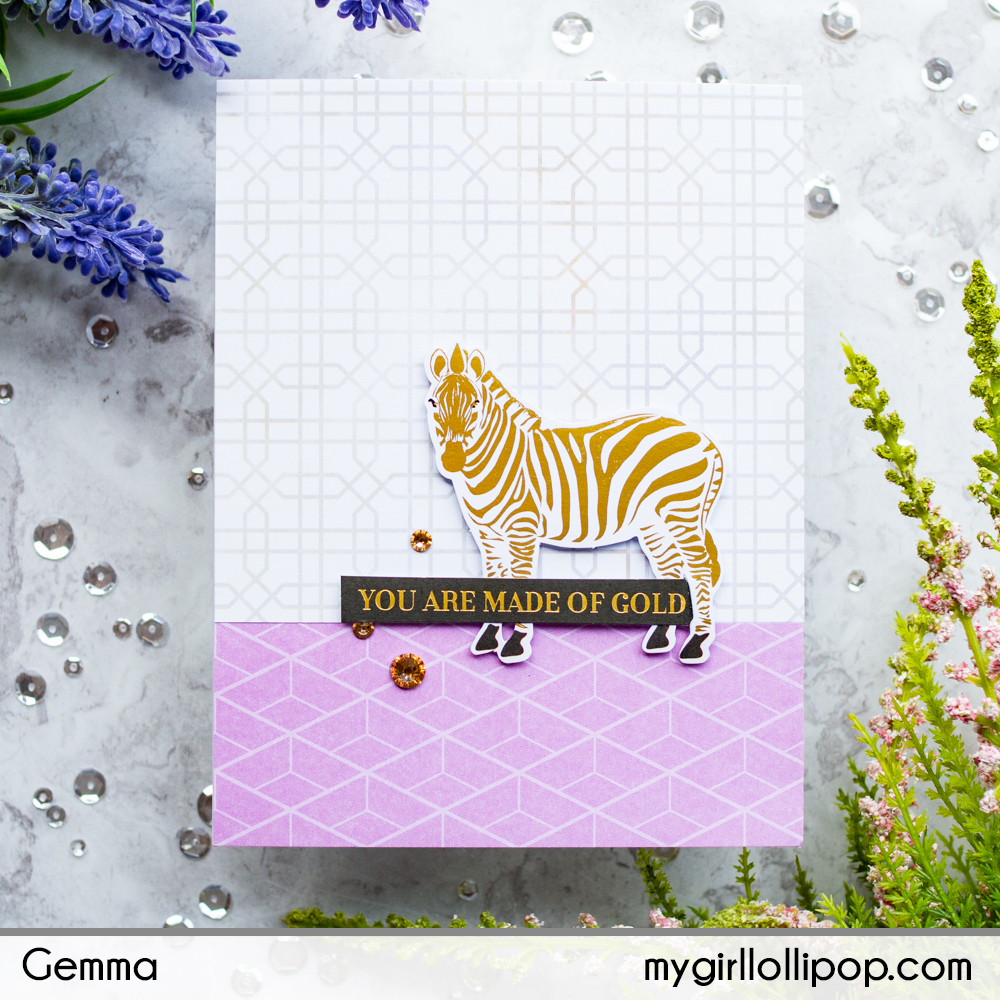
- Layer two pieces of patterned paper to cover a card base.
- Add a die cut shape zebra and sentiment to the card with foam squares.
- Finish with some adhesive diamantes around the sentiment.
Card 2

- Layer a piece of patterned paper on a card base, leaving a small border.
- Using the die set in the kit, cut out from card and piece together the pieces to make the car and balloons.
- Adhere the car flat to the card, then the balloons with foam squares.
- Attach some gold thread to each of the balloons and secure them behind the car.
Card 3

- Cut two strips of patterned paper, one wider than the other, and adhere to the card with double sided tape.
- Add thin strips of gold card next to the patterned paper.
- Add a sentiment die cut shape to the card with foam squares.
- Add the three domino die cut shapes to the card, using foam squares or liquid glue.
Card 4 – Kit extras card
This card uses just the kit extras, which are also available separately.
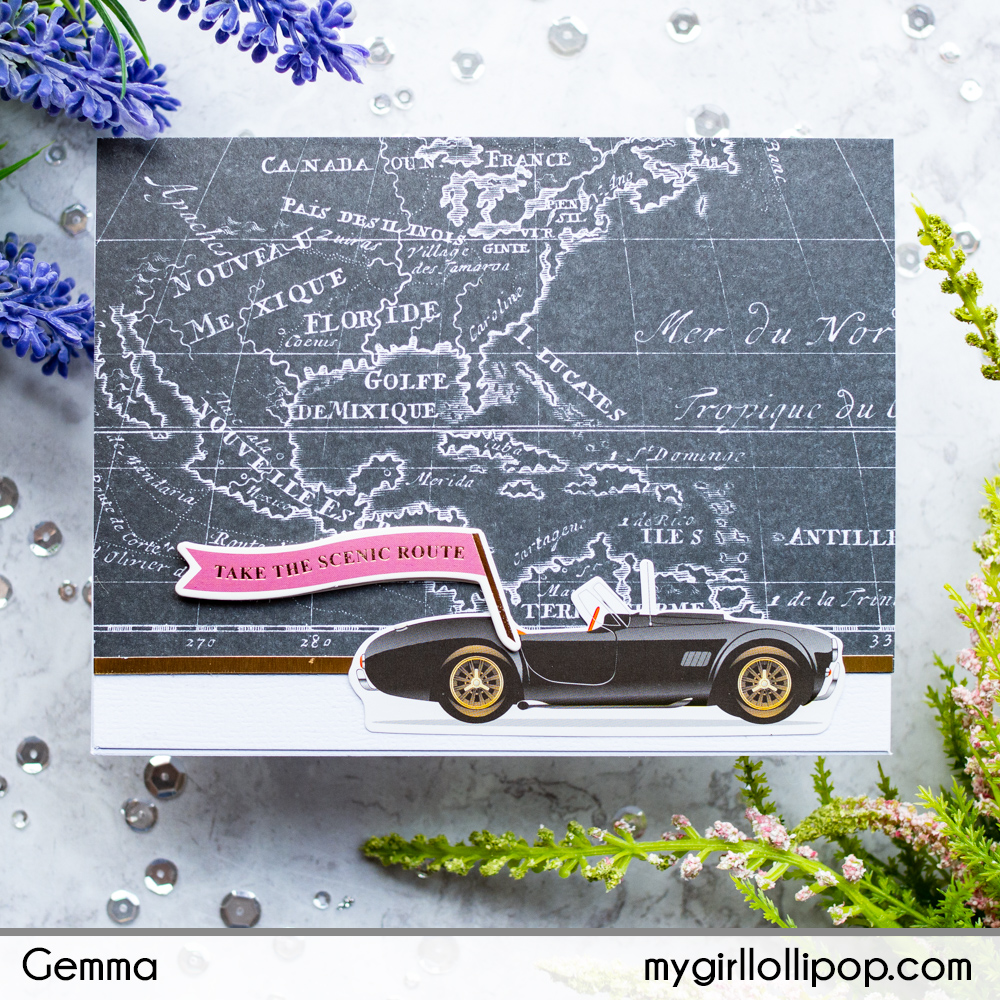
- Layer a piece of map patterned paper on a card base, covering all but a strip at the lower edge.
- Add a thin strip of gold card along the edge of the paper.
- Add the car sticker to the card.
Thanks for joining me today. I hope you enjoyed seeing the cards I made with this fabulous kit.
