
I have three projects to share today, highlighting the ‘Tis the Season collection from Spellbinders.

This holiday collection has a wonderful mix of die sets, sentiments, and glimmer plates. I decided to go non-traditional with my colour scheme and have created a set of rainbow Christmas cards to share with you.
Card 1
For my first card, I began by die cutting the baubles from Holiday Decorations in a rainbow of cardstock, along with some gold glitter card. I offset layered a glitter bauble behind a coloured bauble and added gold glitter tops to each one.

Next, I foiled a sentiment from Mini Christmas Sentiment Strips with gold foil on a white card panel.
To create a string for the baubles, I freehand drew a faint pencil line on my card panel. Once I was happy, I went over the pencil line with a gold gel pen. I adhered the baubles with foam tape and added some highlights with gold and white gel pens.

I used two dies, from Create a Christmas Sentiment, to create a large sentiment using gold glitter and dark blue card. I offfset layered them together and adhered to my card panel, before adding the panel to a white A2 top folding card base.
At the base of the card, I adhered strips of the gold glitter card and dark blue card to the panel, to echo the sentiment colours. Then I finished by adding some metallic gold jewels.

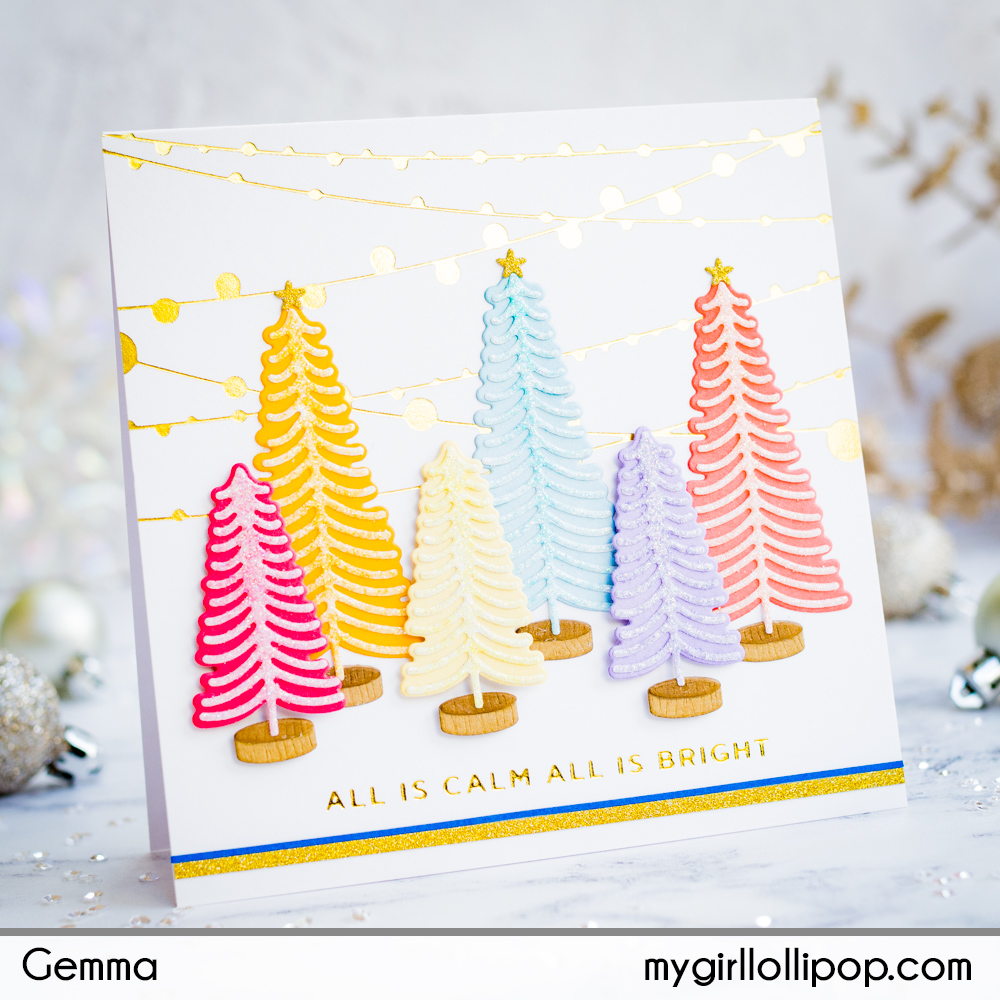
Card 2
Continuing the rainbow holiday theme for my second card, I die cut the Bottle Brush Trees from the same colours of cardstock.
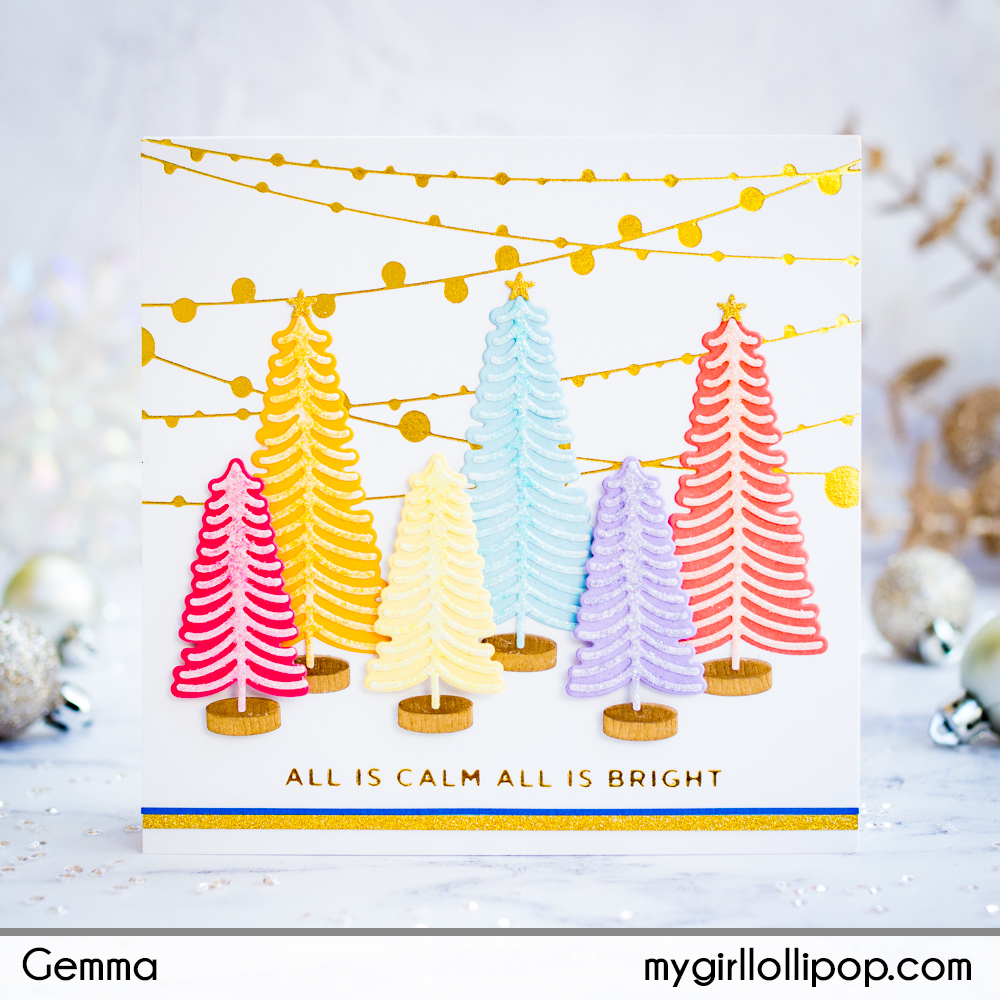
I die cut the top layer of the trees from white glitter card, then coloured over them with copic markers to coordinate with the cardstock colours. The base of the trees were die cut from woodgrain card, then I coloured in the top layer with a brown copic marker to add dimension.
On a square card panel, I foiled the String Lights Background glimmer plate with gold foil. This is such a beautiful background and will work with so many designs. I also foiled a Mini Christmas Sentiment Strips with gold foil, then adhered the panel to a white square notecard.

As with my first card, I also added strips of the gold glitter card and dark blue card to the panel.
I arranged the trees on the card, adhering the larger trees flat to the card, then using foam squares to pop up the smaller trees in front. I finished by adding some die cut gold glitter stars to the larger trees.
Card 3
Keeping with the same rainbow colours of cardstock for my last card, I die cut the car and presents from Special Delivery, along with snowflakes from Holiday Decorations. I recommend adding adhesive sheets to the coloured card stock before die cutting the snowflakes, as it’s then easier to adhere them to the card
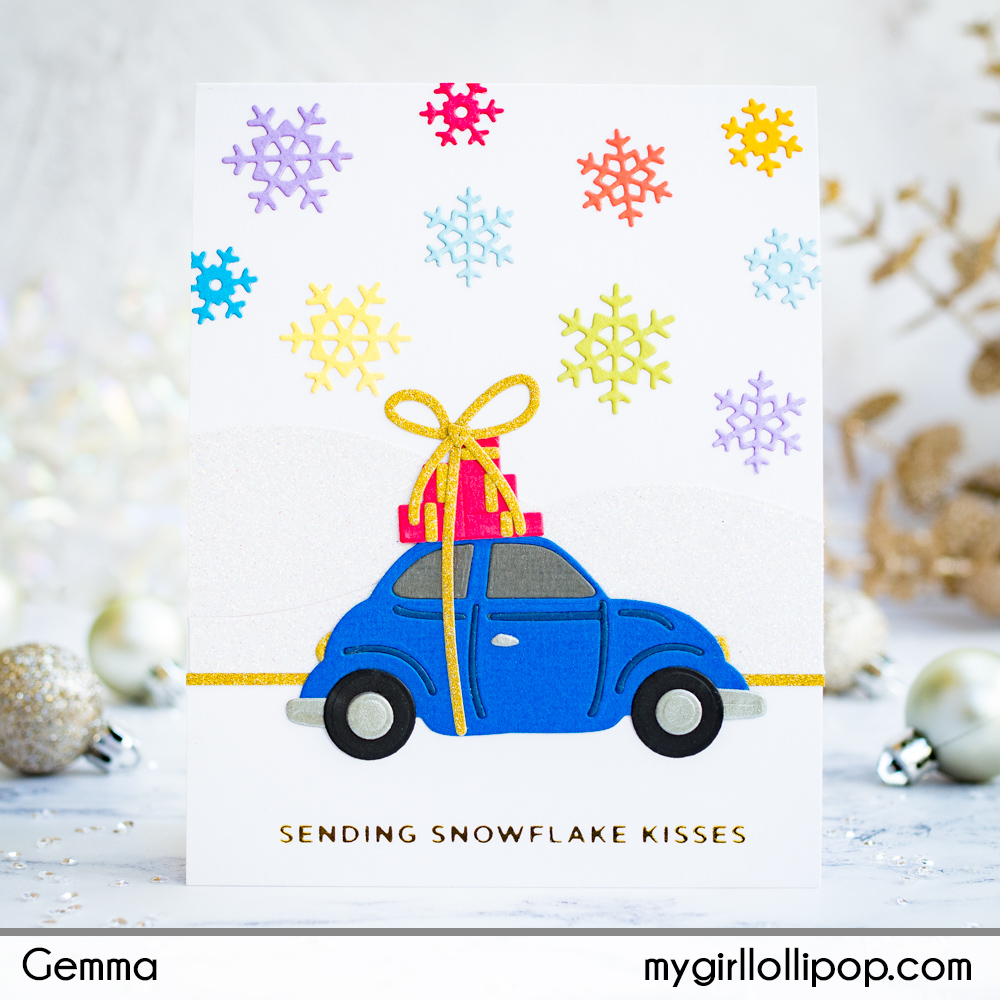
On an A2 card panel, I foiled a sentiment from the Mini Christmas Sentiment Strips glimmer set, using gold foil. This set has 28 glimmer plates so it’s easy to find the perfect sentiment to fit your card design.
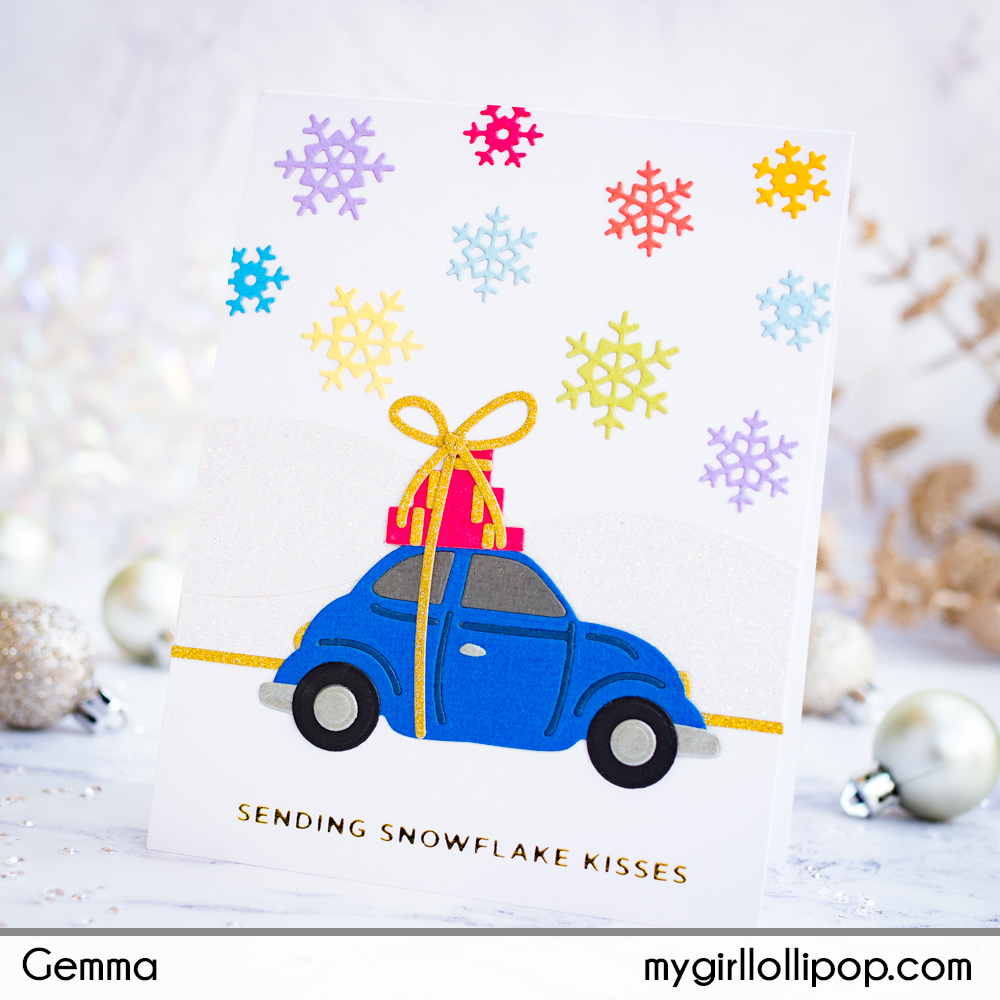
To create a snowy landscape from my car, I die cut white glitter hills with the Color Block Scenic Scape die set. I grounded these with a strip of gold glitter card. It’s tricky to capture the hills in the photos, but the glitter and contrast with the white card base is lovely in real life.
I adhered the rainbow snowflakes above the hills, then the car and presents were added with liquid glue to finish.

Supplies
 Glimmer Hot Foil Machine Shop at: USA |
 Gold Glimmer Foil Shop at: USA |
 Platinum 6 Die Cutting Machine Shop at: USA |
 Holiday Decorations die set Shop at: USA |
 Special Delivery die set Shop at: USA |
 Bottle Brush Trees die set Shop at: USA |
 Color Block Scene Scape die set Shop at: USA |
 Create a Christmas Sentiment die set Shop at: USA |
 String Lights Background glimmer set Shop at: USA |
 Mini Christmas Sentiment Strips glimmer set Shop at: USA |

Love your adorable cards Gemma!
LikeLike