
I love grey, white and red together on a Christmas card. The grey background really makes the other colours pop.
I created a Jolly Snowman Christmas card using these colours. If you’d like to see a short video on how I made this card, head over to Instagram to watch the reel.
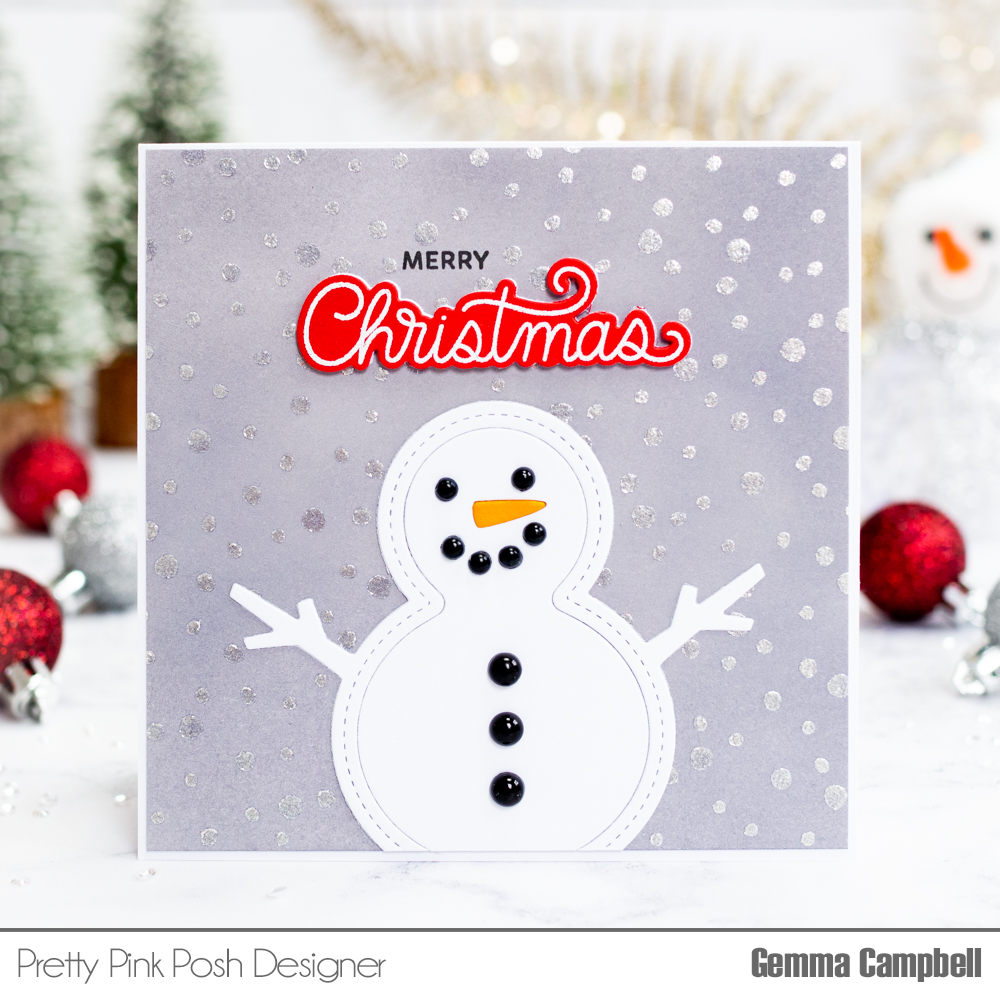
I ink blended hickory smoke distress oxide ink onto a panel of square card. The ink blending gives some texture to the colour, but if you prefer, you could use a grey cardstock panel instead.

Next, I used the Pretty Pink Posh Snowfall Stencil with some Nuvo Winter White Glacier Paste. Remember to clean the stencil and palette knife immediately so the paste doesn’t dry on them. I left the stencilled panel to dry and started working on the other elements for my card.

I die cut the Pretty Pink Posh Snowman Shaker die from white card, using the dies in the set to cut the face and button holes. I also die cut an orange card nose, layered twice for dimension.
On the dry stencilled panel, I stamped a small sentiment from the Pretty Pink Posh Holiday Scripts stamp set. Separately, I stamped and die cut one of the large sentiments from the same stamp set. I used the coordinating die to cut it out, layering another die cut behind for dimension.
I adhered the large sentiment, followed by the snowman. For his face and buttons, I adhered Pretty Pink Posh Onyx pearls. I then trimmed the snowman and adhered the panel to my card base.
At this point, I changed my mind about the sentiment. I wanted a pop of red so I heat embossed the large sentiment in white on red card, adhering the die cut word on top of the sentiment to finish.
Supplies
 Dual Speed Heat Tool Shop at: UK | USA |
 WOW Embossing Ink Pad Shop at: UK | USA |
 WL01 Opaque Bright White SF Shop at: UK | USA |
 Holiday Scripts Shop at: PPP |
 Snowman Shaker Shop at: PPP |
 Snowfall stencil Shop at: PPP |
 Onyx Pearls Shop at: PPP |
 Winter White Glacier Paste Shop at: UK | USA |
